Today, we’re going to learn how to draw a taco step by step. We’ll start simple and add details as we go. Follow along with these easy steps:
Table of Contents
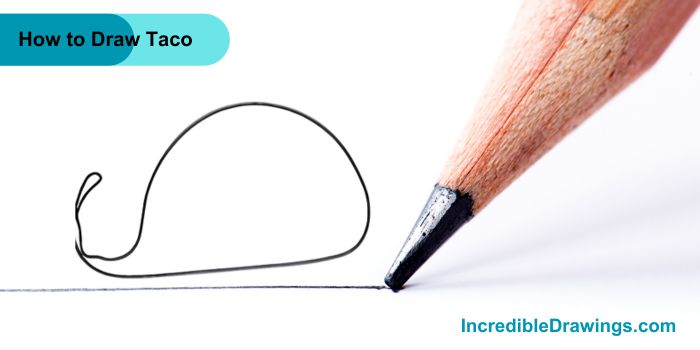
Step 1: Draw the Taco Shell
- Start by drawing a big curved line that looks like a smile. This will be the bottom of your taco shell. Then, draw another curved line above it to make the top of the shell. It should look like a half-circle or a rainbow shape.
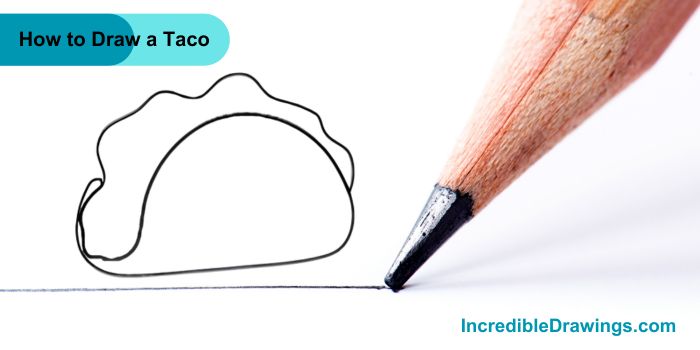
Step 2: Add the Wavy Edge
- Now, let’s make our taco shell look more fun! Draw a wavy line along the top edge of the shell. This gives it that crispy, crunchy look tacos have.
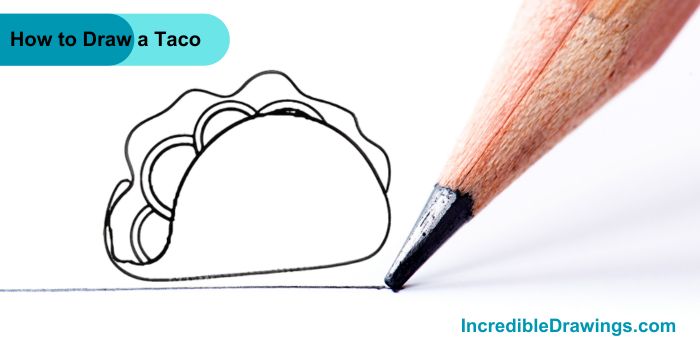
Step 3: Fill in the Toppings
- Inside the taco shell, draw some curved shapes. These will be your taco fillings like lettuce, cheese, or meat. You can make them different sizes and shapes.

Step 4: Add More Details
- Let’s make our taco even yummier! Draw a few more curved lines for extra toppings. You can add circles for tomatoes or squiggly lines for shredded cheese.
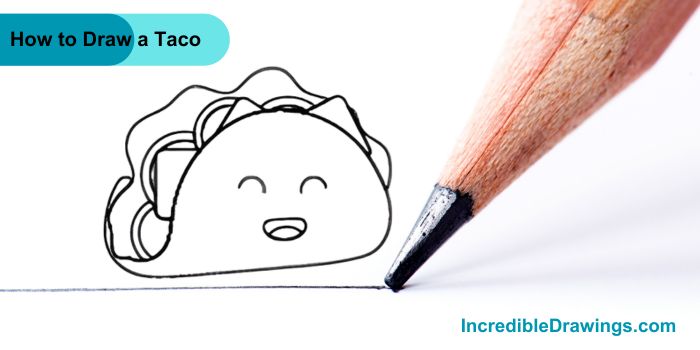
Step 5: Give Your Taco a Face
- To make your taco super cute, add two little curved lines for closed eyes and a big smile. Your taco is now happy and ready to eat!
Step 6: Color It In
- Now let’s add some color! Make the taco shell bright yellow. Color the wavy lines inside green for lettuce, and add a bit of red for tomatoes or salsa.

And there you have it – your very own taco drawing. Remember, practice makes perfect. The more tacos you draw, the better you’ll get. I hope you like drawing Taco with us in this simple step-by-step guide.
The admin of IncredibleDrawings.com is an expert in creating step-by-step drawing tutorials for kids and artists. With over 4+ years of Experience, degree from Master of Fine Arts (MFA), I have cultivated a substantial following on YouTube, Pinterest, and Facebook, making art accessible to learners of all ages. Explore engaging drawing guides and tutorials on their YouTube channel with over 29k subscribers, follow inspiring content on Pinterest, with 100K Monthly views and connect with a vibrant artist community on Facebook with 2k+ likes.