Today we’re going to learn how to draw DNA In this step-by-step guide. DNA is like a special code that tells your body how to grow and work. Let’s draw it step by step.
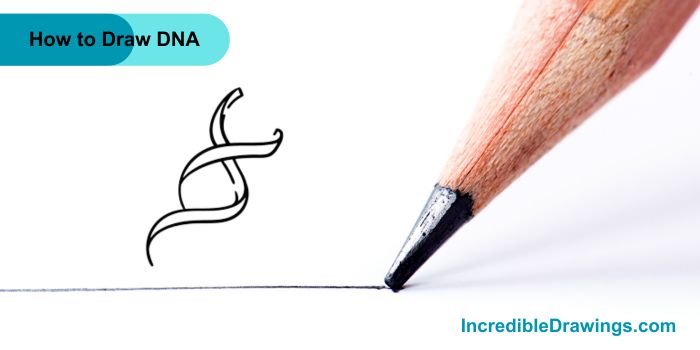
Step 1: The Curvy Backbone
- Start by drawing a curvy line that looks like an “S” shape. This is the backbone of our DNA.
Step 2: Adding the First Rung
- Now, We’re going to add the first “rung” to our DNA ladder. Draw a curved line across the middle of your “S” shape. Then, add some small lines inside this rung.
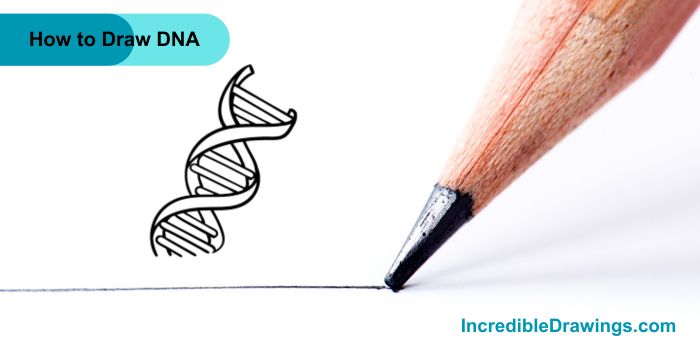
Step 3: More Rungs
- Keep drawing curved lines across your “S” shape, spacing them evenly. Remember to add the small lines inside each rung.
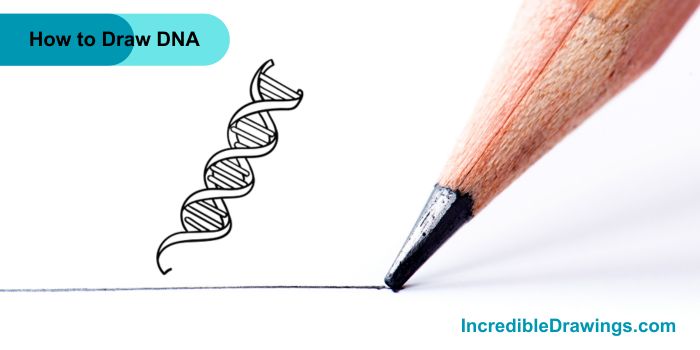
Step 4: Finishing the Ladder
- The DNA ladder is almost complete. Add a few more rungs until your drawing looks similar to this image. Make sure your rungs are evenly spaced.

Step 5: Adding Color (Optional)
- If you want to make your DNA colorful, you can use crayons or markers. Try using different colors for the backbone and the rungs.

Great job, You’ve just drawn a DNA molecule. Remember, real DNA is super tiny – you’d need a very powerful microscope to see it. But now you know what it looks like. I hope you like drawing DNA with us.
The admin of IncredibleDrawings.com is an expert in creating step-by-step drawing tutorials for kids and artists. With over 4+ years of Experience, degree from Master of Fine Arts (MFA), I have cultivated a substantial following on YouTube, Pinterest, and Facebook, making art accessible to learners of all ages. Explore engaging drawing guides and tutorials on their YouTube channel with over 29k subscribers, follow inspiring content on Pinterest, with 100K Monthly views and connect with a vibrant artist community on Facebook with 2k+ likes.