Drawing a bush might seem challenging at first, but with a simple step by step approach, you can create a beautiful, detailed bush drawing. In this guide, you’ll learn how to draw a bush step by step.
Table of Contents
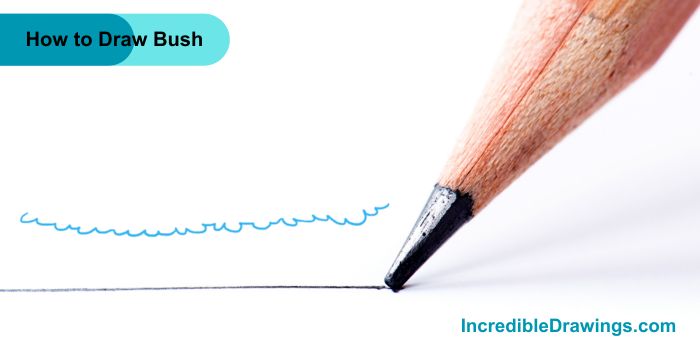
Step 1:
- Start by drawing a series of connected short, “U”-shaped lines to create a wavy line. This will form the bottom of the bush.
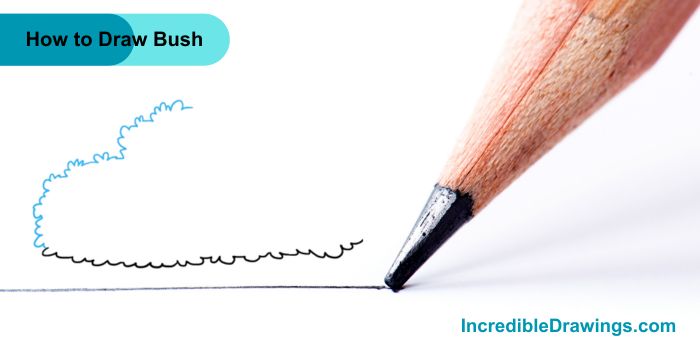
Step 2:
- Next, draw more small “U”-shaped lines, varying the size to outline two distinct sections or “lumps” of the bush.
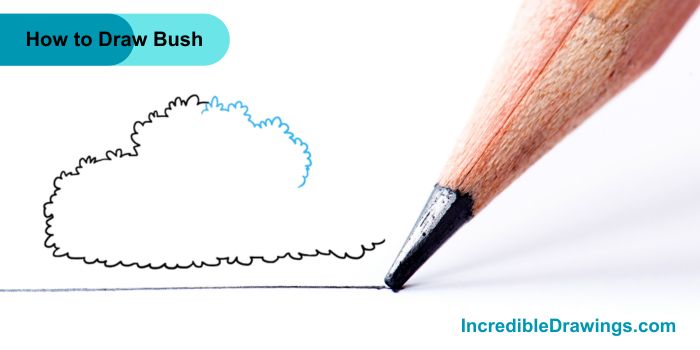
Step 3:
- Continue drawing connected “U”-shaped lines to form additional “lumps.” The shape should start curving back towards the initial lines.
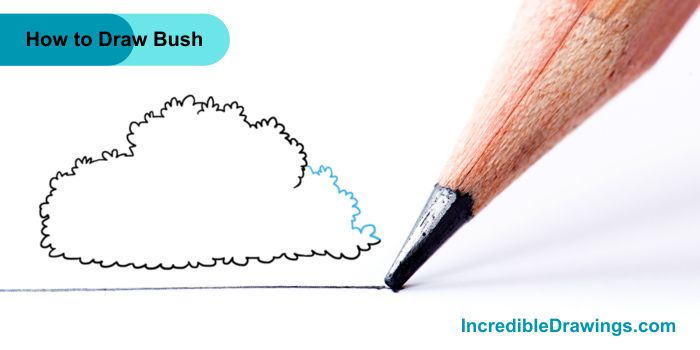
Step 4:
- Keep sketching connected “U”-shaped lines until the bush’s shape is fully enclosed. Notice how the last two sections overlap slightly.
Step 5:
- Add texture inside the bush by drawing curved shapes with connected “U”-shaped lines to represent the branches.

Step 6:
- Continue adding more branches using short, connected “U”-shaped lines.
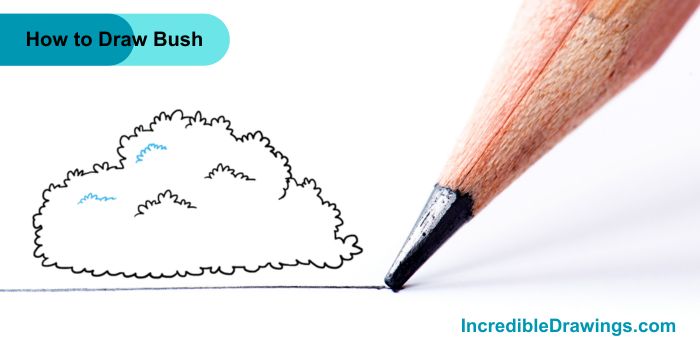
Step 7:
- Draw additional boughs with connected “U”-shaped lines, ensuring some of the shapes overlap to give depth.

Step 8:
- Decorate your bush with flowers. For each flower, draw a small circle and surround it with “U”-shaped lines to form petals.
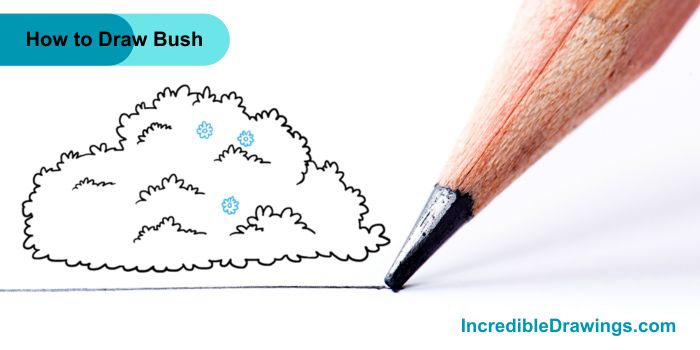
Step 9:
- Add more flowers to the bush using the same method of small circles and “U”-shaped lines.
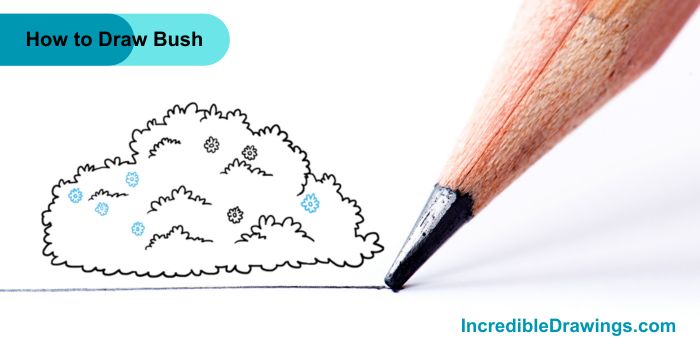
Step 10:
- Color your bush. Flowering bushes can have blooms in a variety of colors. For instance, azaleas come in white, pink, and red, while lilacs are purple and forsythias are bright yellow.

Congratulations, You’ve successfully drawn a beautiful bush by following these simple steps. Now that you’ve mastered drawing a bush, you can experiment with different colors and flower types to make your artwork even more unique. I hope you like drawing Bush with us.
The admin of IncredibleDrawings.com is an expert in creating step-by-step drawing tutorials for kids and artists. With over 4+ years of Experience, degree from Master of Fine Arts (MFA), I have cultivated a substantial following on YouTube, Pinterest, and Facebook, making art accessible to learners of all ages. Explore engaging drawing guides and tutorials on their YouTube channel with over 29k subscribers, follow inspiring content on Pinterest, with 100K Monthly views and connect with a vibrant artist community on Facebook with 2k+ likes.