Drawing a flower can be a delightful creative endeavor. Follow this step by step guide to draw a beautiful flower.
Table of Contents
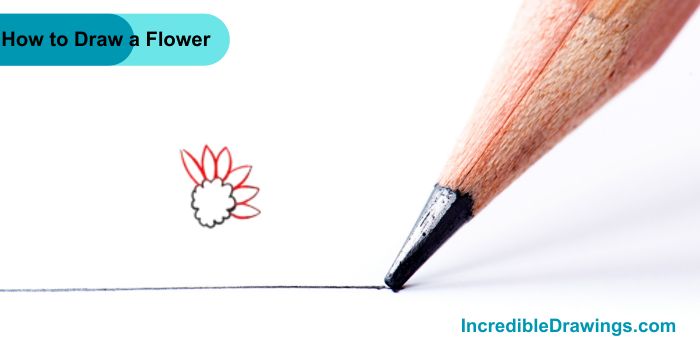
Step 1: Draw the Center
- Start by drawing a small circle in the middle of your paper. This will be the center of your flower.

Step 2: Add Petals
- Draw the first set of petals around the circle. Make each petal a teardrop shape, starting from the center and curving outwards.
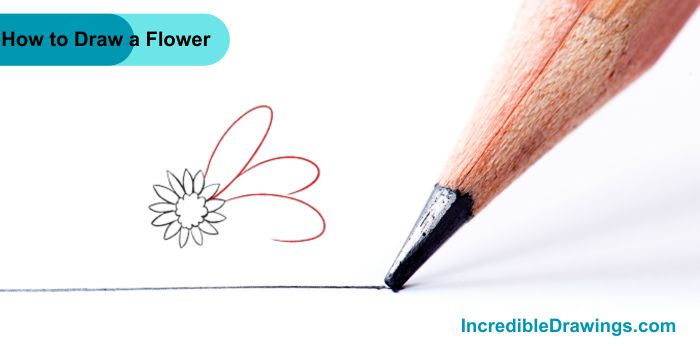
Step 3: Complete the First Layer of Petals
- Continue adding more petals until you have a full circle around the center. Try to make them evenly spaced.

Step 4: Start the Second Layer of Petals
- Draw the second layer of petals behind the first layer. Make them slightly larger and place them in the gaps between the first layer of petals.
Step 5: Continue Adding Petals
- Continue adding more petals to the second layer until it forms a complete circle around the first layer.
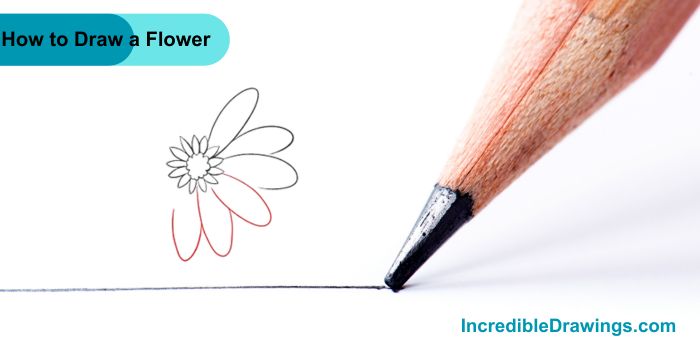
Step 6: Add More Petals
- Draw more petals, adding detail and making it look fuller.
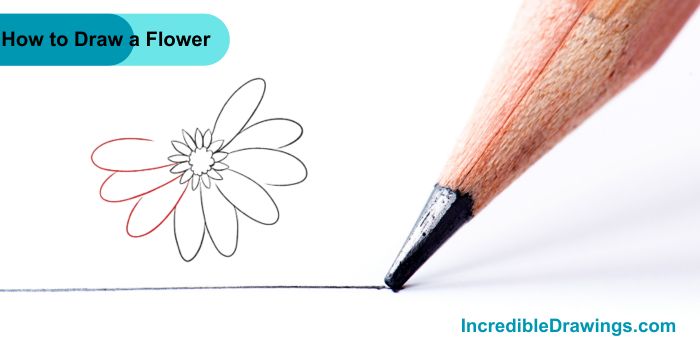
Step 7: Complete the Second Layer
- Finish drawing the second layer of petals all the way around the flower center.

Step 8: Add Leaves
- Draw a straight line down from the center of the flower and draw two leaves on the stem. Each leaf should be an oval shape with a point at the end. They can be on the same side or opposite sides of the stem.

Step 9: Color Your Flower
- Finally, color in your flower. You can use any colors you like. Here, the petals are orange, the center is yellow, and the leaves and stem are green.

And there you have it, A beautiful flower drawn step by step. I hope you like drawing flower with us.
The admin of IncredibleDrawings.com is an expert in creating step-by-step drawing tutorials for kids and artists. With over 4+ years of Experience, degree from Master of Fine Arts (MFA), I have cultivated a substantial following on YouTube, Pinterest, and Facebook, making art accessible to learners of all ages. Explore engaging drawing guides and tutorials on their YouTube channel with over 29k subscribers, follow inspiring content on Pinterest, with 100K Monthly views and connect with a vibrant artist community on Facebook with 2k+ likes.