Drawing a butterfly can be a fun and rewarding activity. Follow this step by step guide on how to draw butterfly to create your own beautiful butterfly.
Table of Contents
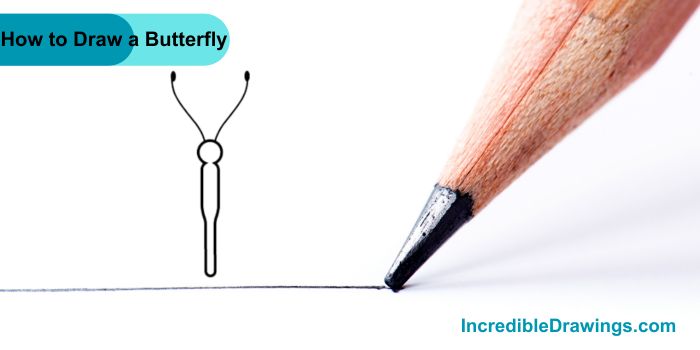
Step 1: Draw the Body
- Start by drawing a long, thin oval shape for the butterfly body. At the top of the oval, draw a small circle for the head.

Step 2: Add the Antennae
- Next, draw two curved lines coming out from the top of the head. These lines will be the butterfly’s antennae. Add small circles at the ends of each antenna.
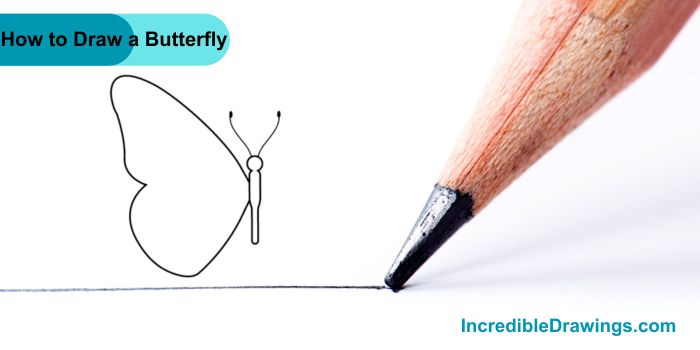
Step 3: Draw the First Wing
- On one side of the body, draw a large, curved shape for the first wing. This wing should look like a big, rounded triangle with smooth edges.
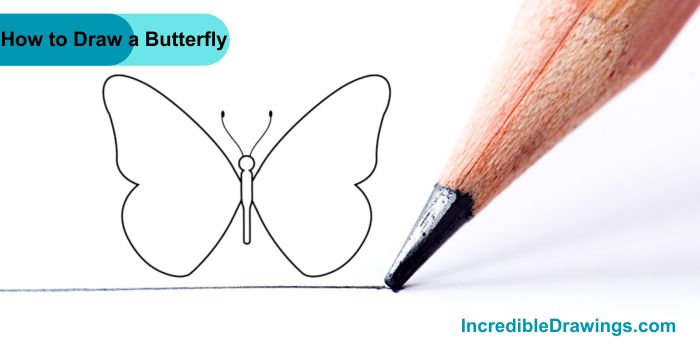
Step 4: Draw the Second Wing
- On the opposite side of the body, draw a matching wing. Make sure both wings are about the same size and shape.
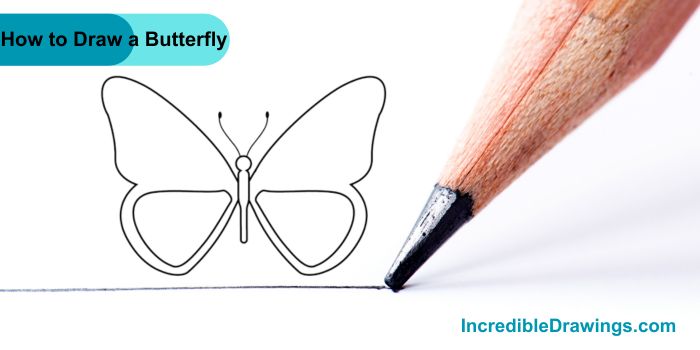
Step 5: Draw the Inner Wing Patterns
- Inside each of the wings, draw smaller shapes to create the wing patterns. These shapes can be ovals, circles, or any other design you like.
Step 6: Add More Patterns
- Continue adding more patterns inside the wings. Try to make your patterns symmetrical, meaning both sides of the butterfly should look the same.
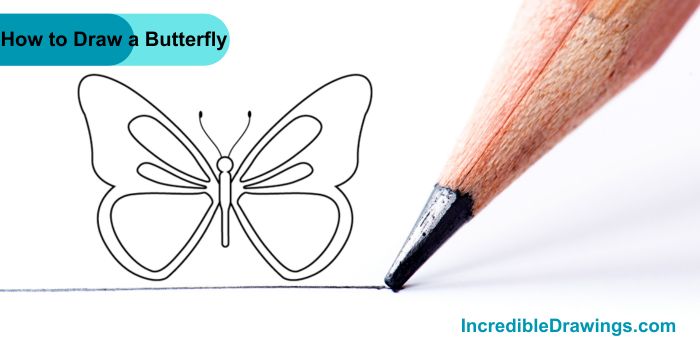
Step 7: Complete the Patterns
- Finish drawing the patterns on the wings by adding more shapes and details. Make sure to fill in both the top and bottom wings.
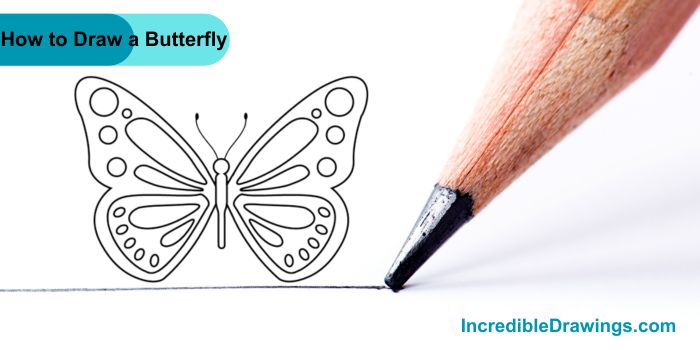
Step 8: Color Your Butterfly
- Finally, color in your butterfly. You can use any colors you like. Butterflies come in many different colors and patterns, so be creative.
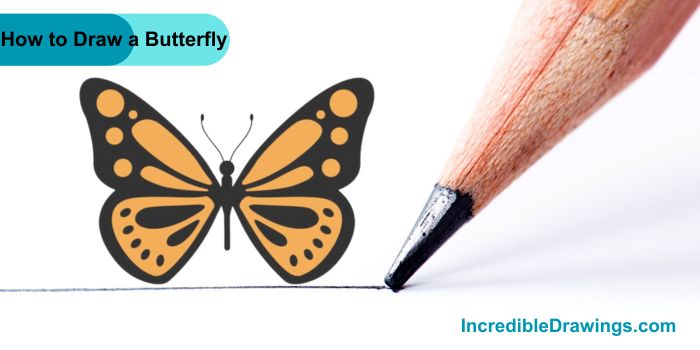
Congratulations, You have drawn a beautiful butterfly. Keep practicing to improve your drawing skills even more. I hope you like drawing butterfly with us.
The admin of IncredibleDrawings.com is an expert in creating step-by-step drawing tutorials for kids and artists. With over 4+ years of Experience, degree from Master of Fine Arts (MFA), I have cultivated a substantial following on YouTube, Pinterest, and Facebook, making art accessible to learners of all ages. Explore engaging drawing guides and tutorials on their YouTube channel with over 29k subscribers, follow inspiring content on Pinterest, with 100K Monthly views and connect with a vibrant artist community on Facebook with 2k+ likes.


