Drawing a pumpkin is fun and easy, Just follow this step by step guide on how to draw a pumpkin, and you’ll have your very own pumpkin drawing in no time. Each step comes with a picture to help you understand what to do. Let’s get started.
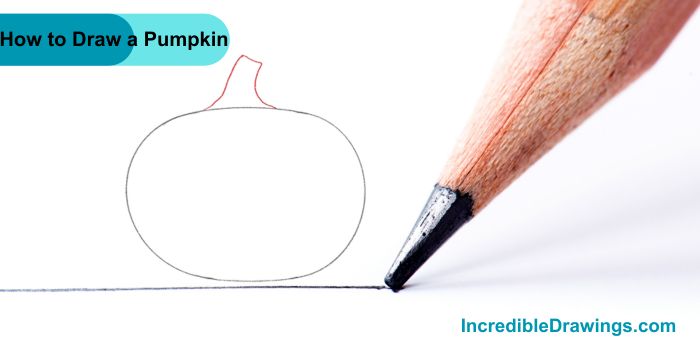
Step 1: Draw the Outline of the Pumpkin
- Start by drawing a big oval shape. This will be the main part of your pumpkin.
Step 2: Add the Stem
- Next, draw a small, curvy rectangle on top of the oval. This will be the stem of the pumpkin.

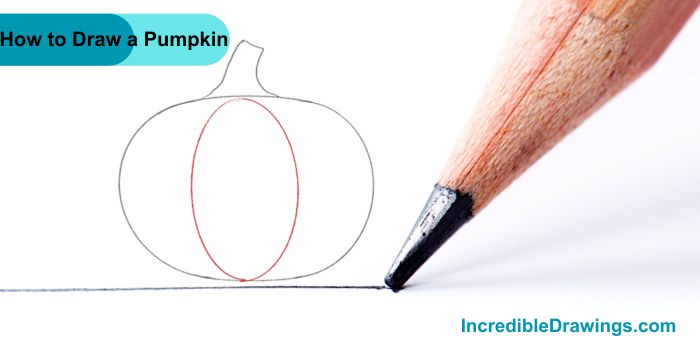
Step 3: Draw the First Section
- Draw another oval shape inside the first oval, but make it vertical this time. This will help create the sections of the pumpkin.
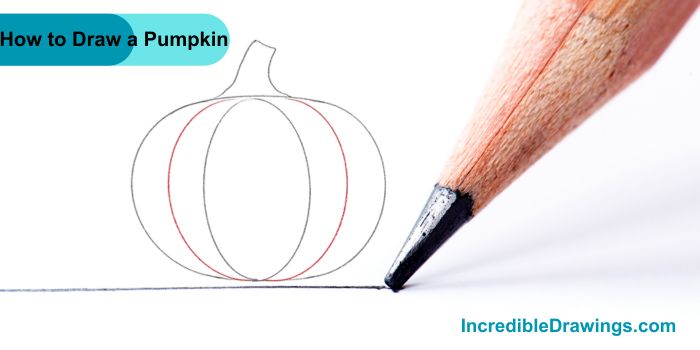
Step 4: Draw the Second Section
- Draw another vertical oval shape overlapping the first one. This will create more sections of the pumpkin.
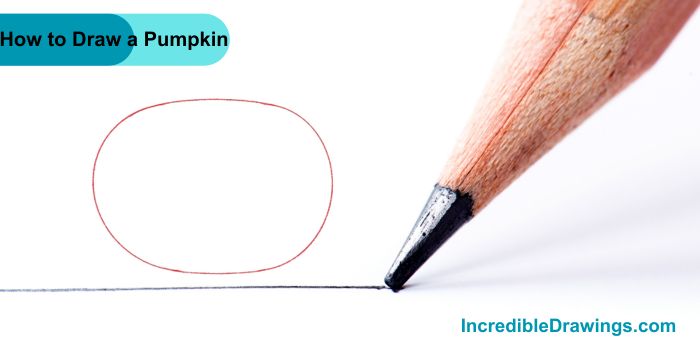
Step 5: Draw the Details
- Add some curved lines at the bottom and on the top to add more depth and detail to your pumpkin.
Step 6: Complete the Stem
- Add details to the stem by drawing some lines from top to bottom. This will make it look more realistic.
Step 7: Add Final Details
- Erase any unnecessary lines and make sure the pumpkin sections look smooth and round. Your pumpkin is almost ready.
Step 8: Color Your Pumpkin
- Finally, color your pumpkin, Use orange for the body and green for the stem. You can also add shadows and highlights to make it look more 3D.
And there you have it, You’ve drawn a beautiful pumpkin.
By following these steps, you can draw a pumpkin easily. Keep practicing, and you’ll get even better. I hope you like drawing pumpkin with us.