Drawing a car can be lots of fun and very easy if you follow the steps carefully. In this guide, we will show you how to draw a simple and cute car step by step. Each step has a picture to help you understand how to draw it. This step-by-step tutorial is designed for kids and beginners, with easy-to-follow instructions and images for each step. By the end of this guide, you will be able to draw a colorful and adorable car. Grab your pencils, and let’s get drawing!
Table of Contents
Car Drawing Step-by-Step Guide
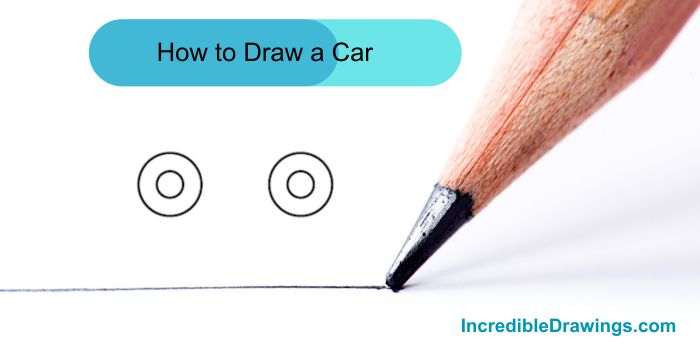
Step 1: Draw Two Circles
Start by drawing two small circles on your paper. These will be the wheels of the car. Make sure they are spaced apart equally.

Step 2: Add Outer Circles
Next, draw larger circles around the small circles you drew in the first step. These larger circles will form the outer part of the wheels.
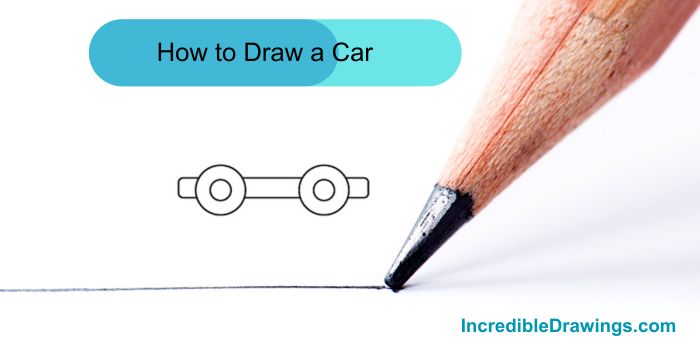
Step 3: Connect the Wheels
Draw a rectangle that connects the two wheels. This rectangle will be the base of the car. Make sure the rectangle is slightly above the center of the wheels.
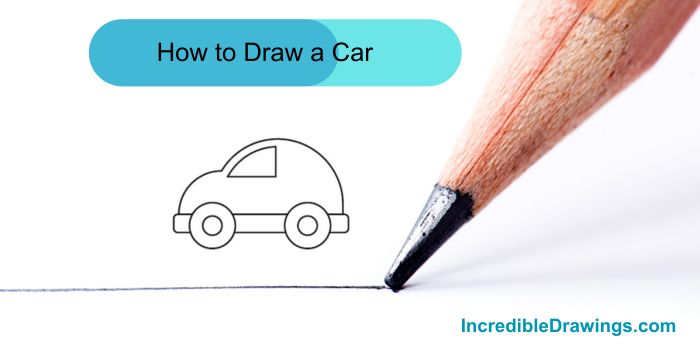
Step 4: Draw the Car Body
Now, draw a large curved line starting from one end of the rectangle to the other, forming the main body of the car. The shape should resemble a dome.

Step 5: Add a Window
Draw a small rectangle inside the dome shape to create a window. The window should be near the top of the dome.
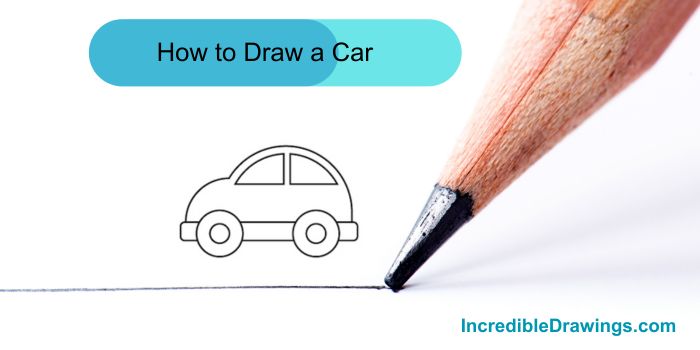
Step 6: Add Another Window
Draw another window by making a vertical line that divides the dome into two parts. This will create the second window.
Step 7: Draw the Door
Draw a door by adding a curved line inside the dome shape. Make sure the door is in the middle of the car body.
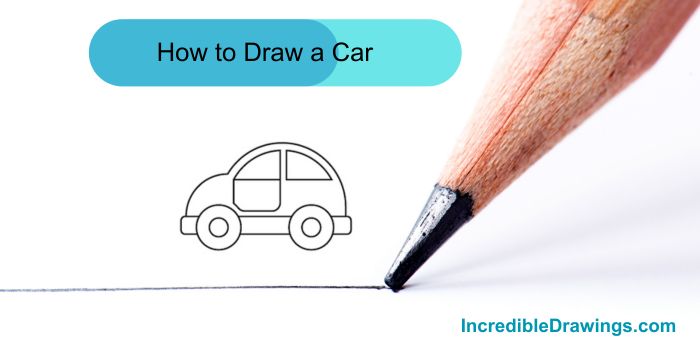
Step 8: Add Details to the Door
Draw a small circle on the door to represent the door handle. You can also add a line near the bottom of the car to represent the bumper.
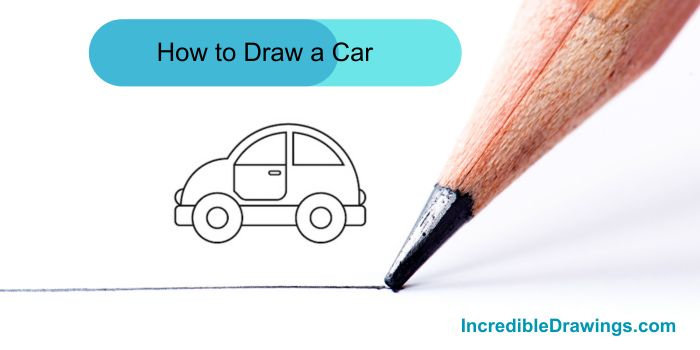
Step 9: Add Window Details
Add lines to the windows to make them look like real car windows. You can draw diagonal lines inside the windows to represent the window panes.
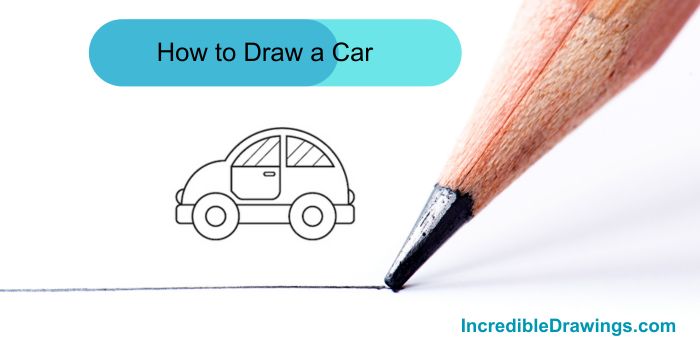
Step 10: Color Your Car
Finally, color your car using your favorite colors. You can make the car body red, the wheels black, and the windows blue. Be creative and make your car look fantastic.

Conclusion
Congratulations, You have successfully drawn a car. You can use these steps to draw different types of cars by changing the shape of the body or adding more details.
If you like this step-by-step drawing, you might also like this: How to Draw a Motorcycle (Step by Step)
The admin of IncredibleDrawings.com is an expert in creating step-by-step drawing tutorials for kids and artists. With over 4+ years of Experience, degree from Master of Fine Arts (MFA), I have cultivated a substantial following on YouTube, Pinterest, and Facebook, making art accessible to learners of all ages. Explore engaging drawing guides and tutorials on their YouTube channel with over 29k subscribers, follow inspiring content on Pinterest, with 100K Monthly views and connect with a vibrant artist community on Facebook with 2k+ likes.


