Drawing a shark can be a lot of fun, Follow this step by step guide on how to draw a shark to draw your very own shark. Grab your paper and pencils, and let’s get started.
Table of Contents
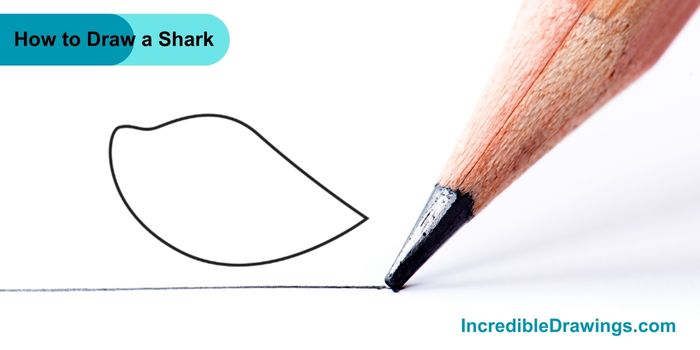
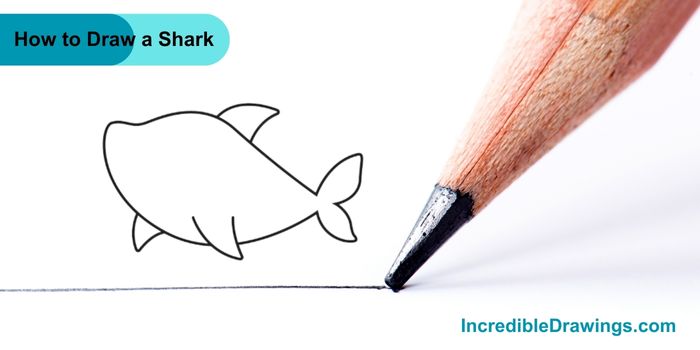
Step 1: Draw the Shark Body
- Start by drawing a large oval shape. This will be the main body of the shark.
Step 2: Add the Tail
- At the pointed end of the body, draw the shark tail. The tail is made of two curved lines that meet at a point, forming a triangle-like shape.
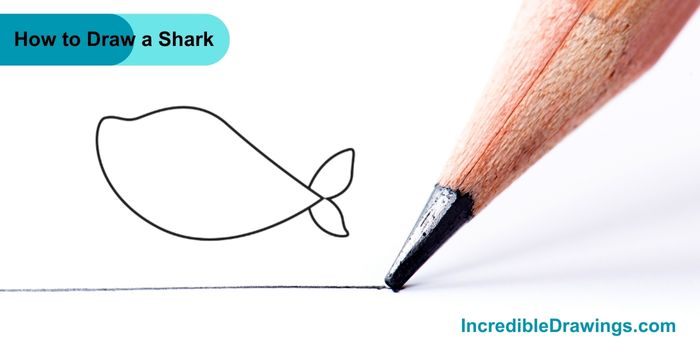
Step 3: Refine the Tail Shape
- Now, refine the shape of the tail by erasing the extra line.

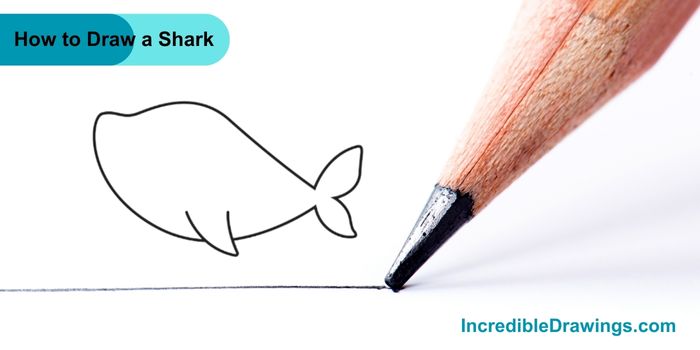
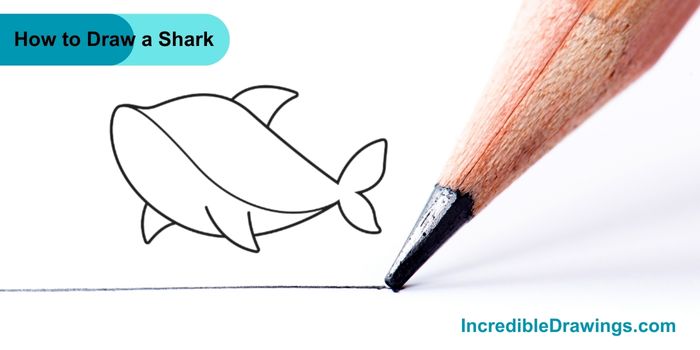
Step 4: Draw the Fin
- Draw a small, curved line on the bottom of the body, close to the middle. This will be the shark fin.
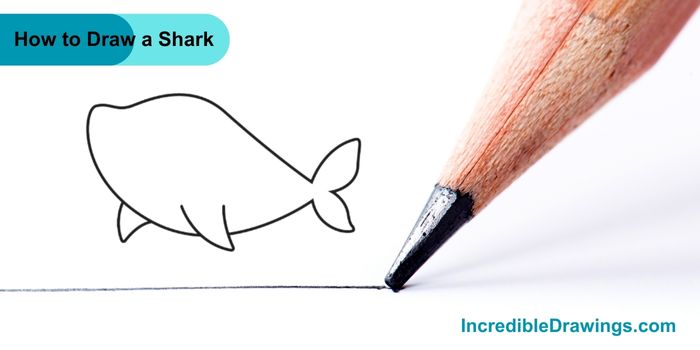
Step 5: Add Another Fin
- Add another small fin near the bottom of the body, towards the front.
Step 6: Draw the Top Fin
- Draw a large, curved triangle on top of the body, closer to the tail. This is the shark dorsal fin.
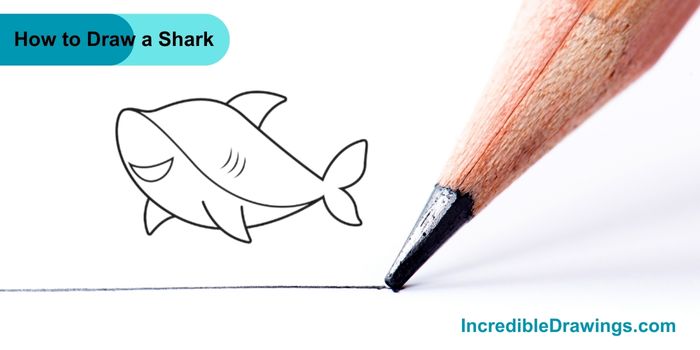
Step 7: Draw a Curved Line Across the Shark Body
- Draw a curved line along the length of the shark body, starting from its mouth and extending all the way to its tail. This line will create a division between the upper part of the shark body and its underside.
Step 8: Add the Mouth and Gills
- Draw a smiling mouth near the front of the shark head. Just above the mouth, add a few curved lines to represent the shark gills. These help the shark breathe underwater.
Step 9: Draw the Eye
- Add a small circle above the mouth for the shark eye. You can add a tiny dot inside the circle to make the eye look more realistic.
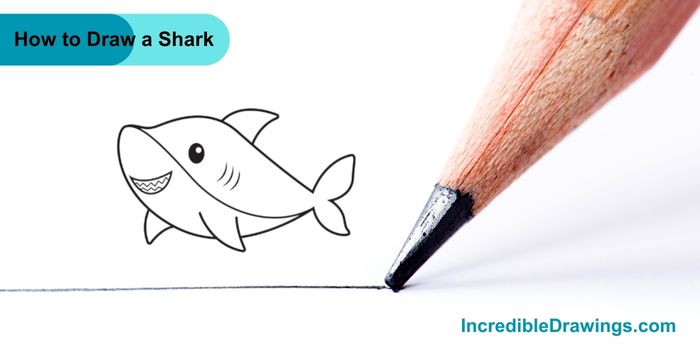
Step 10: Color Your Shark
- Finally, color your shark, You can use grey for the body, white for the belly, and a darker shade for the fins.

Now you have a wonderful drawing of a shark, Great job, Keep practicing, and you’ll become an amazing artist. I hope you like drawing shark with us.
The admin of IncredibleDrawings.com is an expert in creating step-by-step drawing tutorials for kids and artists. With over 4+ years of Experience, degree from Master of Fine Arts (MFA), I have cultivated a substantial following on YouTube, Pinterest, and Facebook, making art accessible to learners of all ages. Explore engaging drawing guides and tutorials on their YouTube channel with over 29k subscribers, follow inspiring content on Pinterest, with 100K Monthly views and connect with a vibrant artist community on Facebook with 2k+ likes.