Drawing a cute puppy is easy if you follow this step by step guide on how to draw a puppy. Grab your pencils, paper, and let’s get started.
Table of Contents
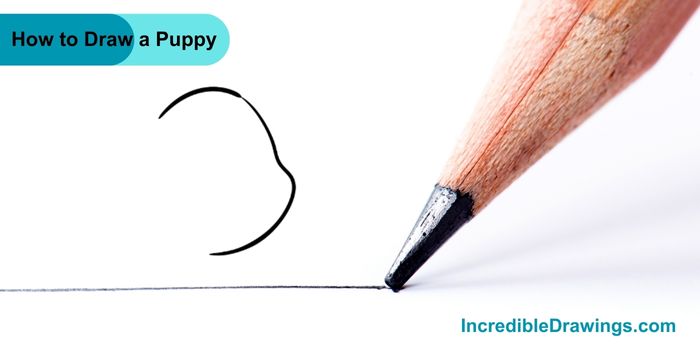
Step 1: Draw the Head Outline
- Start by drawing a curved line that looks like a big “C”. This will be the outline of the puppy head.
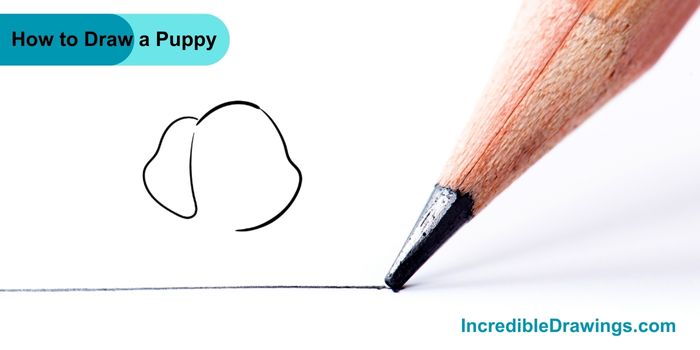
Step 2: Add the Left Ear
- Next, draw the puppy left ear by adding a rounded shape to the left side of the head. Make sure the ear is slightly droopy.
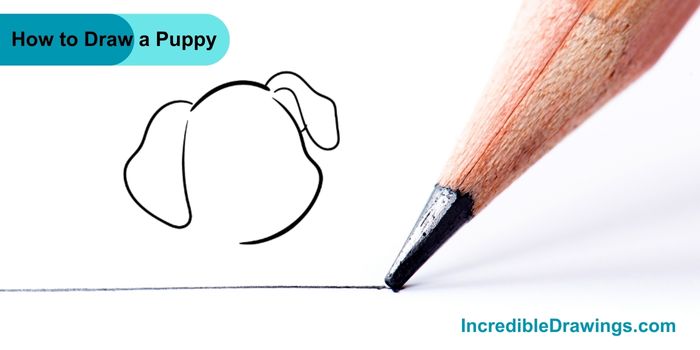
Step 3: Draw the Second Ear
- Add the second ear on the other side of the head. It should be a mirror image of the first ear, but feel free to make it a bit different to add some character.
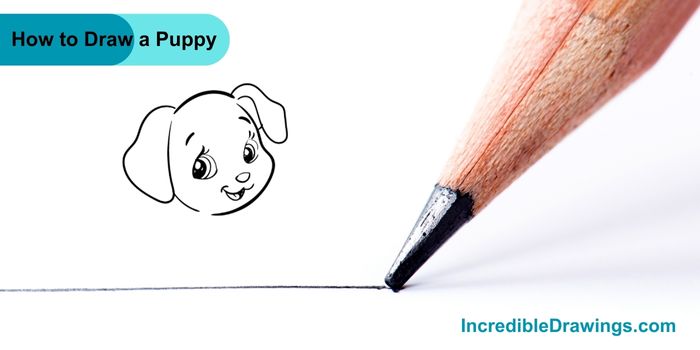
Step 4: Draw the Face
- Now, let’s give our puppy a face, Draw two big, round eyes with a tiny circle inside each for the pupils. Then, draw a cute little nose and and a smiling mouth below the eyes. Don’t forget to add some cute eyebrows above the eyes.
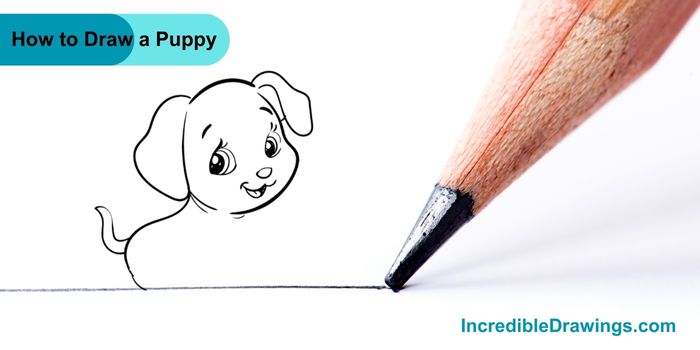
Step 5: Draw the Body Outline
- Next, draw a curved line coming down from the head to create the puppy back. Add a small tail at the end.
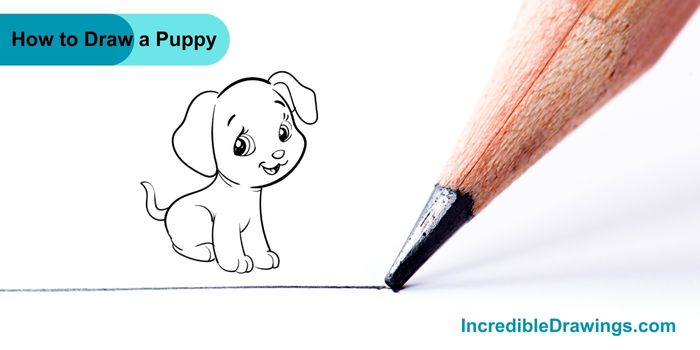
Step 6: Add the Legs
- Draw two front legs starting from the bottom of the head and Add the back leg on the side of the body. It should be bent to show that the puppy is sitting. Don’t forget to add a small paw at the end.
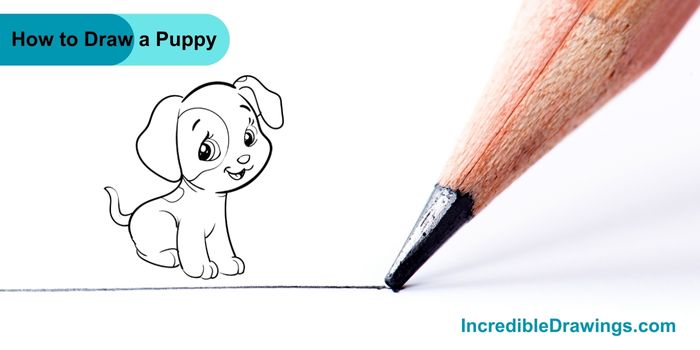
Step 7: Add Details
- Add some spots on the puppy body for more details. You can also draw a small collar around its neck if you like.
Step 8: Add Details and Color
- Finally, Once done, color your puppy with your favorite colors

Congratulations
You’ve drawn an adorable puppy, Great job, and keep practicing your drawing skills. I hope you like drawing puppy with us.
The admin of IncredibleDrawings.com is an expert in creating step-by-step drawing tutorials for kids and artists. With over 4+ years of Experience, degree from Master of Fine Arts (MFA), I have cultivated a substantial following on YouTube, Pinterest, and Facebook, making art accessible to learners of all ages. Explore engaging drawing guides and tutorials on their YouTube channel with over 29k subscribers, follow inspiring content on Pinterest, with 100K Monthly views and connect with a vibrant artist community on Facebook with 2k+ likes.