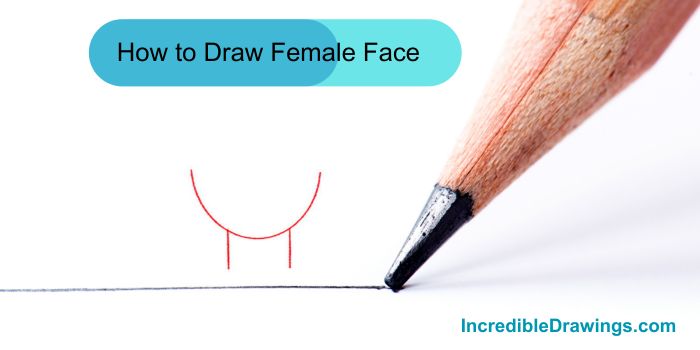
Step 2: Add the Eyes and Eyebrows
Next, draw two ovals for the eyes and add curved lines above them for the eyebrows. Position them near the top of the U shape.

Step 3: Draw the Nose and Mouth
Draw a small curved line for the nose. Add a smiling curved line below the nose to create the mouth. These should be centered between the eyes and the bottom of the U shape.

Step 4: Outline the Face and Add an Ear
Add a curved line from the top left of the U shape down to the neck to outline the side of the head. Draw an ear on the left side of the face using a small oval shape.

Step 5: Start Drawing the Hair
Begin drawing the hair by adding a large curved line starting from the top of the head and flowing down past the ear.

Step 6: Complete the Hair Outline
Extend the hair line from the previous step and bring it down to form a nice wavy shape. This will give the hair a natural and flowing look.

Step 7: Add More Hair Details
Continue to add more lines to define the hair. This will give the hair volume and make it look more realistic. Draw a few lines inside the hair to show strands.

Step 8: Finalize the Hair and Add Shoulders
Finish the hair by drawing the remaining lines to connect it to the head. Draw two curved lines below the neck to represent the shoulders.

Step 9: Color the Drawing
Finally, color the drawing. You can use any colors you like for the hair, eyes, and skin. Don’t forget to add some shading to make your drawing look more three-dimensional.

Conclusion
Congratulations, You’ve drawn a beautiful female face. Remember, practice makes perfect. Keep drawing and experimenting with different styles and features. I hope you love this drawing of Female face.
If you like this step-by-step drawing, you might also like this: How to Draw a Sitting Cat for Kids (Step by Step)


