Drawing a fox can be lots of fun, Follow this step by step guide on how to draw a fox and use the images to help you draw your own cute fox.
Table of Contents
Step 1: Draw the Fox Head
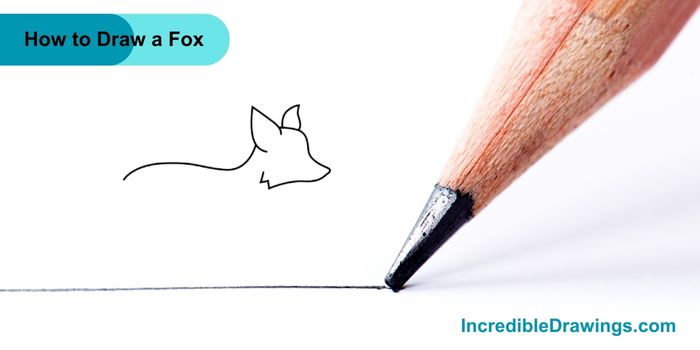
- Start by drawing the outline of the fox head. Draw a curved line for the top of the head and add two pointy ears on top. Then, draw the snout coming down from the head.

Step 2: Add the Neck and Back
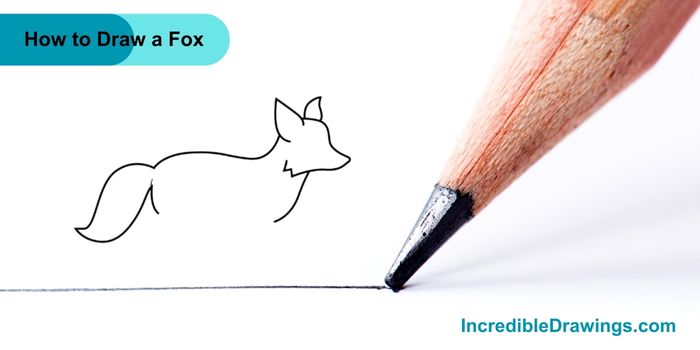
- Next, draw a curved line from the back of the head to form the fox neck and back. This line should curve down and to the left, creating a smooth shape.

Step 3: Draw the Body and Tail
- Now, draw the fox body. Extend a curved line from the neck to create the body, and then add a big, bushy tail at the end of the body.

Step 4: Draw the Legs
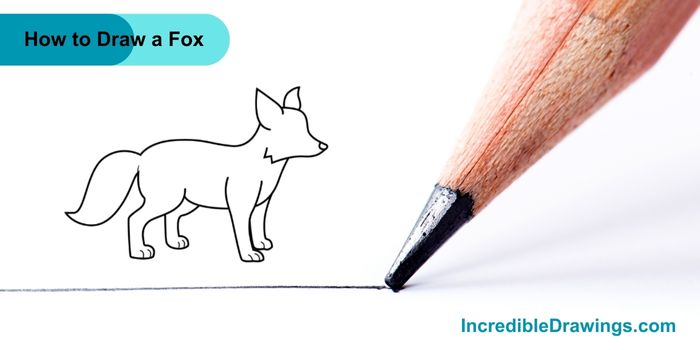
- Add the legs to your fox. Draw two front legs coming down from the body and two back legs near the tail. Make sure the legs are straight and have little paws at the ends.

Step 5: Add Details to the Face and Tail
- Draw the eyes, nose, and inner parts of the ears. Make the eyes round and the nose a small triangle. Add a few lines inside the tail to show its fluffiness.

Step 6: Color Your Fox
- Finally, color your fox. Foxes are usually orange with a white belly and black on their legs and the tip of their tail. Use bright colors to make your fox look lively and cute.

Now you have your very own fox drawing, Great job, You can add some background to your drawing, like trees or grass, to make it look like the fox is in its natural habitat. Keep practicing, and you’ll become an even better artist. I hope you like drawing fox with us.
The admin of IncredibleDrawings.com is an expert in creating step-by-step drawing tutorials for kids and artists. With over 4+ years of Experience, degree from Master of Fine Arts (MFA), I have cultivated a substantial following on YouTube, Pinterest, and Facebook, making art accessible to learners of all ages. Explore engaging drawing guides and tutorials on their YouTube channel with over 29k subscribers, follow inspiring content on Pinterest, with 100K Monthly views and connect with a vibrant artist community on Facebook with 2k+ likes.


