Drawing a human body can be easy and fun if you follow this step by step guide on how to draw a human body. Let’s learn how to draw a human body step by step. Grab your pencil and paper, and let’s begin.
Table of Contents
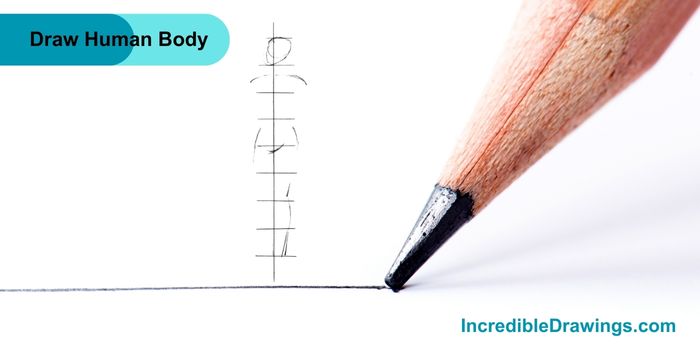
Step 1: Draw the Basic Outline
- Start by drawing a straight vertical line down the middle of your paper. This will be the guideline for the body proportions.
- At the top of the line, draw a small circle for the head.
- Add horizontal lines across the vertical line to divide the body into sections. This will help you place the different parts of the body correctly.
- Draw basic shapes for the hips, and legs, using the horizontal lines as guides.
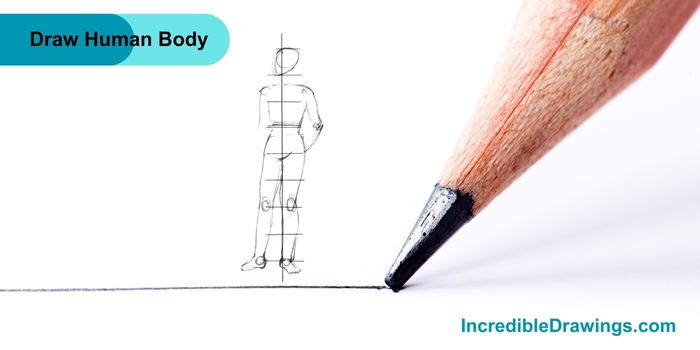
Step 2: Add Basic Shapes for the Limbs
- Draw circles for the shoulders, elbows, and knees. These will help you place the joints.
- Connect the circles with lines to outline the arms and legs.
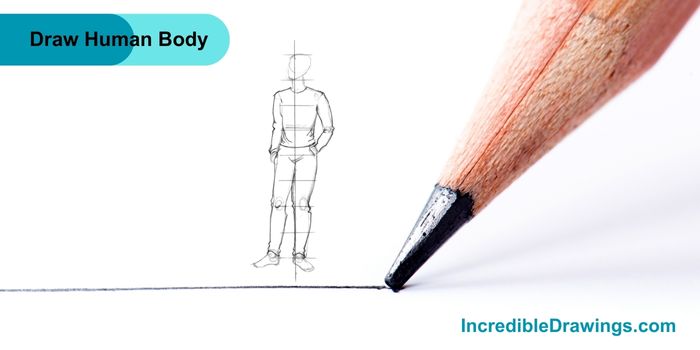
Step 3: Outline the Body and Clothes
- Use the basic shapes and lines as a guide to draw the outline of the body.
- Add details to the torso, arms, and legs, following the natural curves of the body.
- Draw the neck and refine the shape of the head.
- Draw the clothes, adding folds and creases to make them look realistic.
Step 4: Add Details to the Face and Clothes
- Draw the facial features, such as the eyes, nose, and mouth.
- Add details to the hair.
- Add details to the clothes.
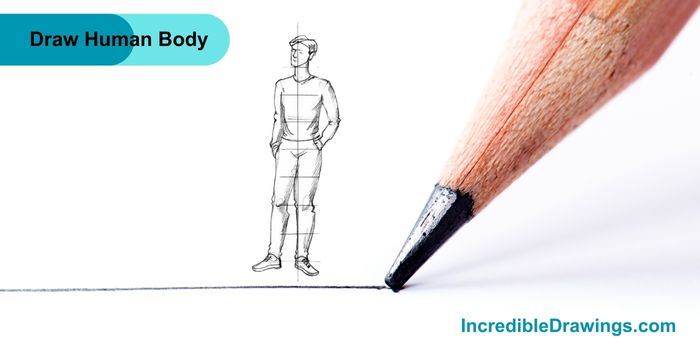
Step 5: Finalize the Drawing
- Go over your lines with a darker pencil or pen to finalize the drawing.
- Erase any unnecessary guidelines to clean up your sketch.
- Add shading and more details to make your drawing look complete.

Congratulations, You’ve drawn a human body, Keep practicing and try adding your own touches to make your drawing unique. I hope you like drawing human body with us.
The admin of IncredibleDrawings.com is an expert in creating step-by-step drawing tutorials for kids and artists. With over 4+ years of Experience, degree from Master of Fine Arts (MFA), I have cultivated a substantial following on YouTube, Pinterest, and Facebook, making art accessible to learners of all ages. Explore engaging drawing guides and tutorials on their YouTube channel with over 29k subscribers, follow inspiring content on Pinterest, with 100K Monthly views and connect with a vibrant artist community on Facebook with 2k+ likes.