Drawing a lion can be fun and easy if you follow this step by step guide on hoe to draw a lion. Let’s get started.
Table of Contents
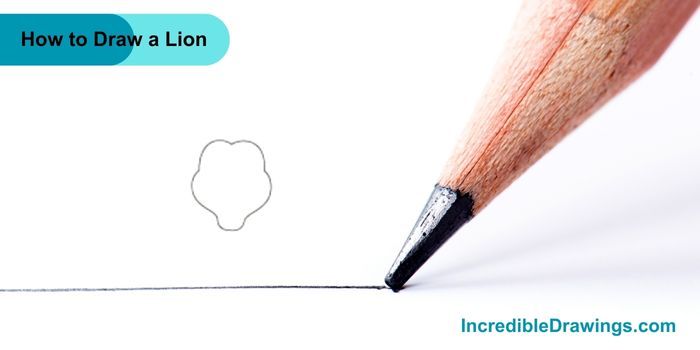
Step 1: Draw the Head Shape
- Begin by drawing the outline of the lion’s head. It’s a simple, rounded shape with a slight bump at the top for the mane and a curve at the bottom for the chin.
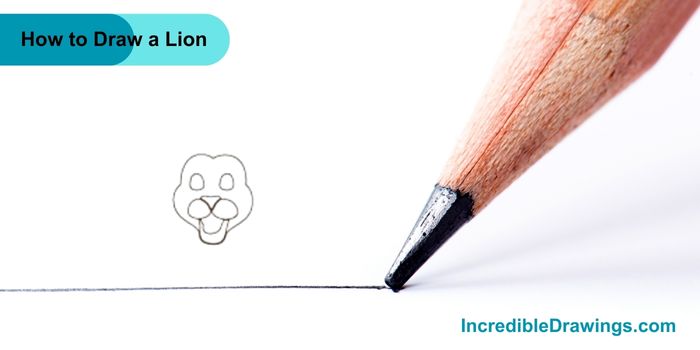
Step 2: Add Facial Features
- Next, add the lion’s facial features. Draw two oval shapes for the eyes, a small circle for the nose, and a curved line for the mouth.
Step 3: Draw the Lion Mane
- Now, it’s time to give our lion its majestic mane. Draw fluffy, wavy lines around the head. This will make your lion look powerful and grand.

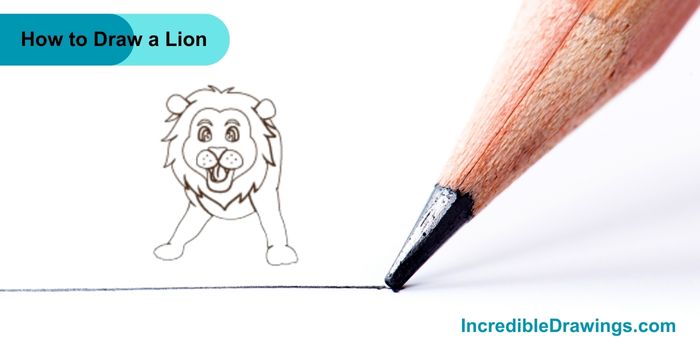
Step 4: Sketch the Front Legs
- Draw the front legs of the lion, extending down from the head. Make sure they are strong and slightly bent as if the lion is ready to pounce. Add some details to the paws.
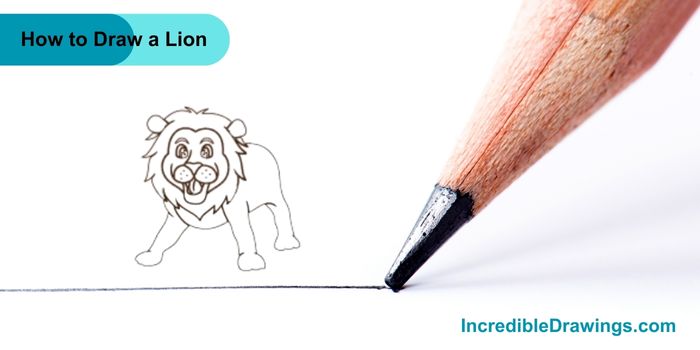
Step 5: Add the Back Leg
- Now draw the back leg, which should be similar to the front leg but positioned slightly behind.
Step 6: Complete the Body
- Draw the last leg. Make it robust and strong to show the lion strength.
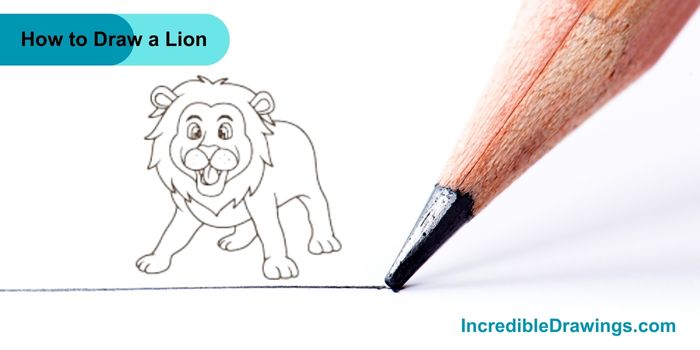
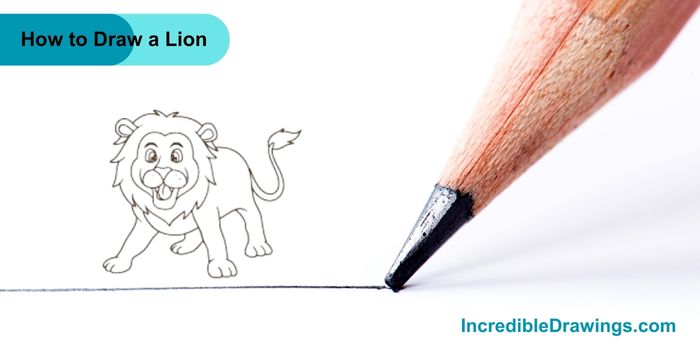
Step 8: Draw the Tail
- Finally, add the lion’s tail. It should be long and end with a tuft of hair at the tip. This completes the outline of your lion.
Step 9: Color Your Lion
- Now that you have the outline, you can color your lion. Use shades of brown and yellow for the body, and a darker brown for the mane. Add some pink for the tongue and inner ears.

And there you have it, You’ve drawn a lion step by step. Great job, Keep practicing, and you’ll get even better. I hope you like drawing lion with us.
The admin of IncredibleDrawings.com is an expert in creating step-by-step drawing tutorials for kids and artists. With over 4+ years of Experience, degree from Master of Fine Arts (MFA), I have cultivated a substantial following on YouTube, Pinterest, and Facebook, making art accessible to learners of all ages. Explore engaging drawing guides and tutorials on their YouTube channel with over 29k subscribers, follow inspiring content on Pinterest, with 100K Monthly views and connect with a vibrant artist community on Facebook with 2k+ likes.


