Today, we’re going to learn how to draw a Pug Dog step by step. Follow along with the pictures, and you’ll have your pug dog drawing in no time.
Table of Contents
Step 1: Draw the Head
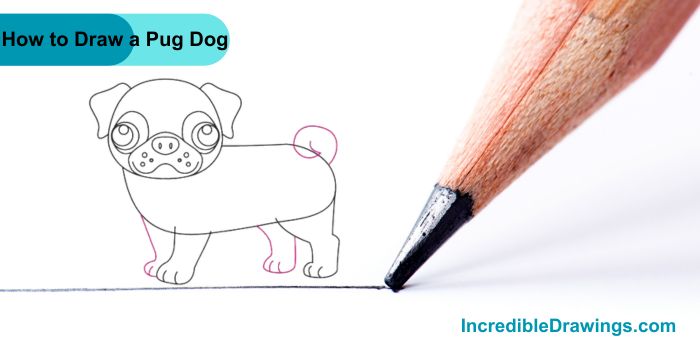
- Start by drawing a big circle that’s slightly flattened at the bottom. This will be the pug’s round, chubby head.

Step 2: Add the Snout
- Inside the circle, near the bottom, draw a curved line that looks like a smile. Add two small circles for nostrils and draw some dots around the snout for whiskers. This forms the pug’s cute snout.

Step 3: Draw the Eyes
- Add two large circles on either side of the snout for the pug’s big, round eyes.
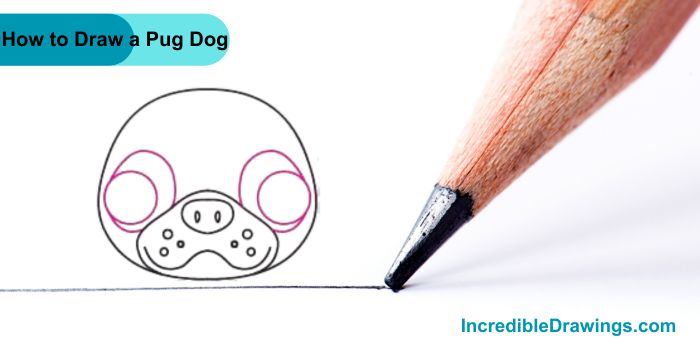
Step 4: Draw the pupils
- Inside each eye, draw a smaller circle for the pupils.
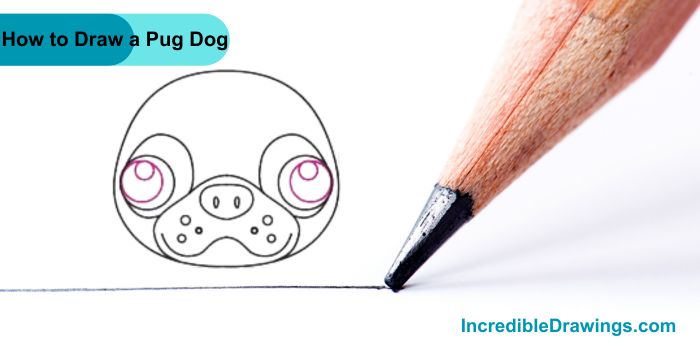
Step 5: Draw the Body and Ears
- On top of the head, draw two floppy triangles for the pug’s ears. Pugs have small, folded ears that flop down and below the head, draw a big oval shape. This will be the pug’s chubby body. Make sure it’s nice and round – pugs are known for being plump!
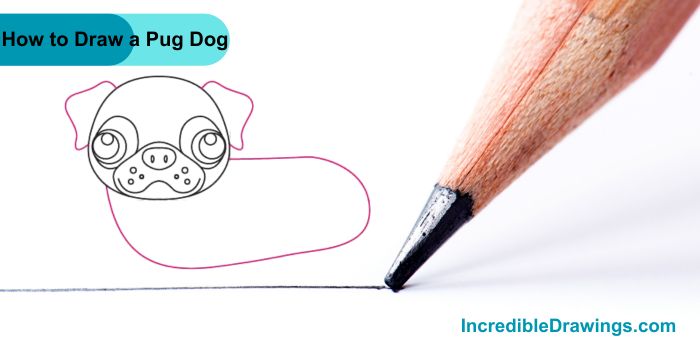
Step 6: Draw the legs
- Draw a front leg and back leg
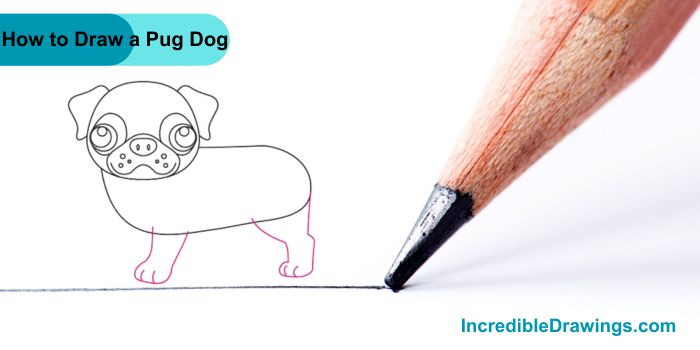
Step 7: Finish the Details
- Draw the two other legs and Draw a curly tail on the back
Step 8: Color
- Color the pug’s fur light brown
- Make the ears and face darker brown

And there you have it, Your very own pug drawing. Remember, practice makes perfect. Keep drawing, and soon you’ll be creating amazing pugs in no time. I hope you like drawing pug with us in this step by step guide.
The admin of IncredibleDrawings.com is an expert in creating step-by-step drawing tutorials for kids and artists. With over 4+ years of Experience, degree from Master of Fine Arts (MFA), I have cultivated a substantial following on YouTube, Pinterest, and Facebook, making art accessible to learners of all ages. Explore engaging drawing guides and tutorials on their YouTube channel with over 29k subscribers, follow inspiring content on Pinterest, with 100K Monthly views and connect with a vibrant artist community on Facebook with 2k+ likes.


