How to Draw a Rooster Step By Step

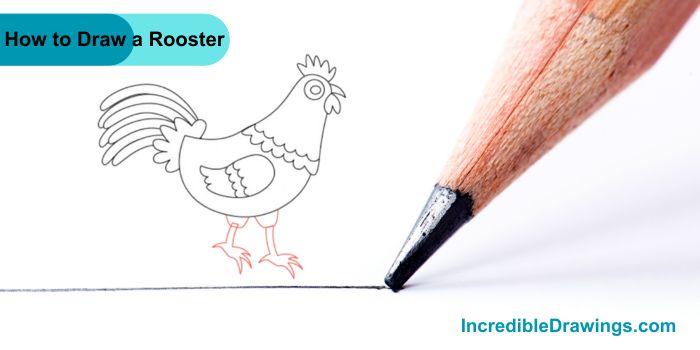
Drawing a rooster can be a lot of fun, Just follow step by step guide on how to draw a rooster, and you’ll have a colorful rooster in no time.

Step 1: Draw the Rooster’s Head

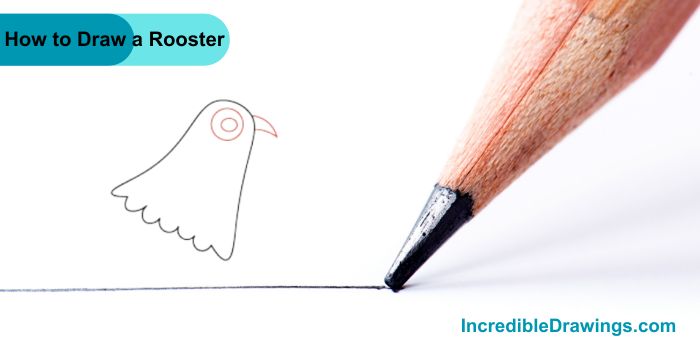
  1. Start by drawing a shape that looks like a bell with a wavy bottom. This will be the head and the beginning of the neck.

How to Draw a Rooster Step By Step

Step 2: Add the Eye and Beak

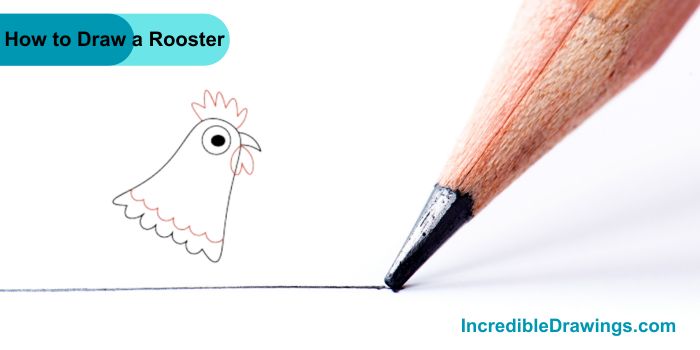
  1. Inside the head shape, draw a small circle for the eye.
  2. Draw a smaller circle inside the eye for the pupil.
  3. Now, draw a small, curved triangle shape to make the beak.

How to Draw a Rooster Step By Step

Step 3: Draw the Comb and Wattle

  1. On top of the head, draw a series of curved lines to create the comb. It should look like a crown.
  2. Below the beak, draw a small wavy shape to create the wattle.

Step 4: Draw the Body

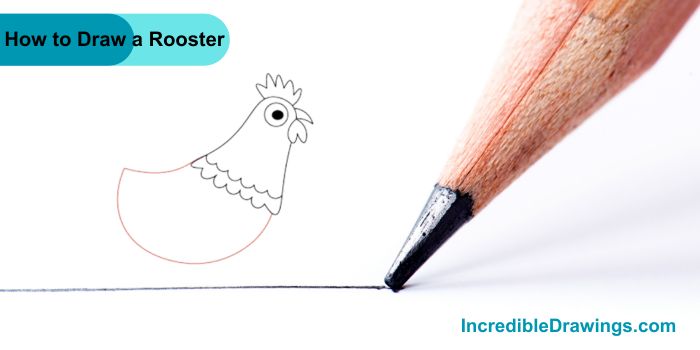
  1. Draw a large curved line starting from the neck to form the back and belly of the rooster.

Step 5: Add the Wing and Tail Feathers

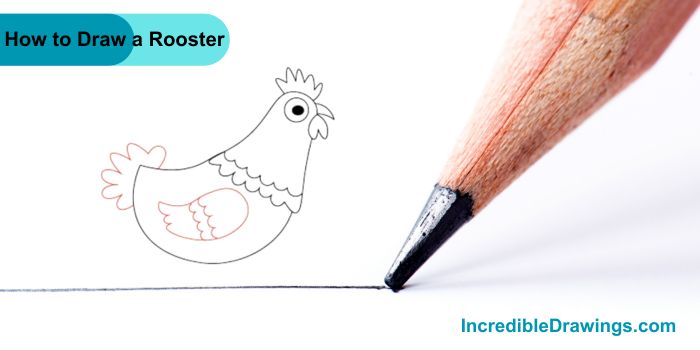
  1. Draw a wing shape on the side of the body. Add a few small curves inside the wing to give it detail.
  2. At the back of the body, draw several long, curved lines for the tail feathers.

Step 6: Draw the Legs and Feet

  1. Draw two lines down from the bottom of the body for the legs.
  2. Add three toes to each leg, making sure they spread out for balance.

Step 7: Add Final Details and Color

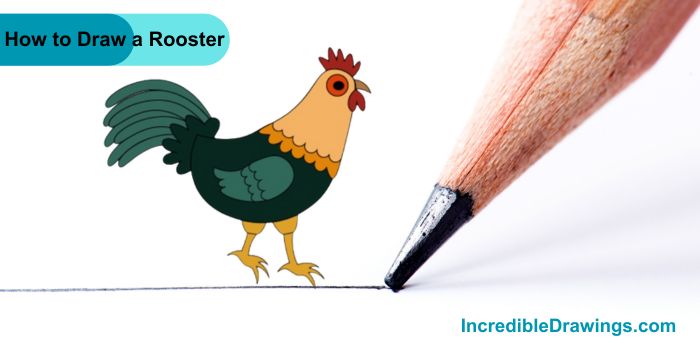
  1. Now, add any final details you like to your rooster, such as more feathers or patterns on the body.
  2. Finally, color your rooster using your favorite colors. Roosters are often bright and colorful, so have fun with it.
See also  How to Draw DNA Step By Step

How to Draw a Rooster Step By Step

And there you have it—a beautiful, colorful rooster, Great job following along. Keep practicing, and you’ll get even better at drawing. I hope you like drawing rooster with us.

Leave a Comment