Drawing a rose can seem complicated, but if you follow this step by step guide on how to draw a rose, you’ll be able to draw a beautiful rose easily.
Table of Contents
Step 1: Draw the Center of the Rose
- Start by drawing a small spiral in the center. This will be the innermost part of the rose.
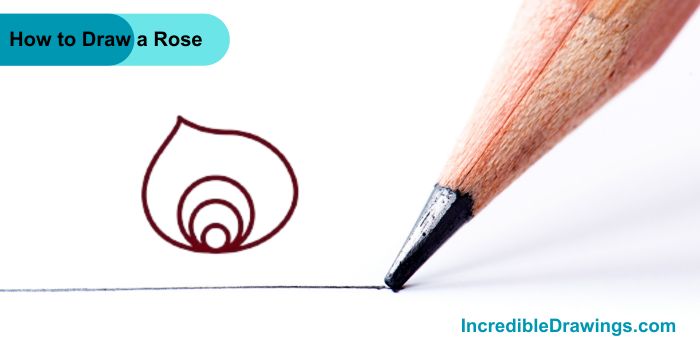
Step 2: Add Petals Around the Center
- Next, draw some petals around the spiral. Make sure the petals are larger than the spiral and overlap slightly.
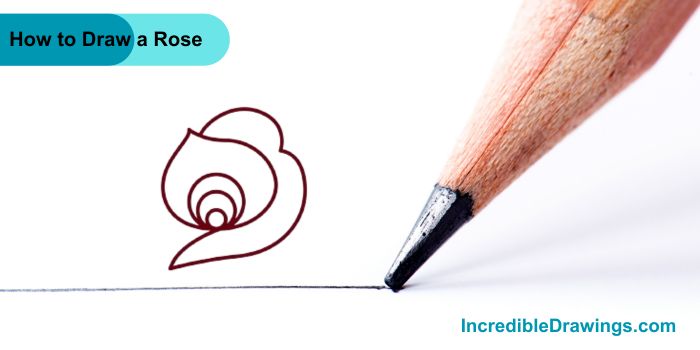
Step 3: Continue Adding Petals
- Continue to draw more petals around the ones you just drew. Each layer of petals should be slightly larger and more open than the previous one.

Step 4: Build Up the Layers
- Keep adding layers of petals, making them gradually larger and more open. This will give your rose a full, blossoming appearance.
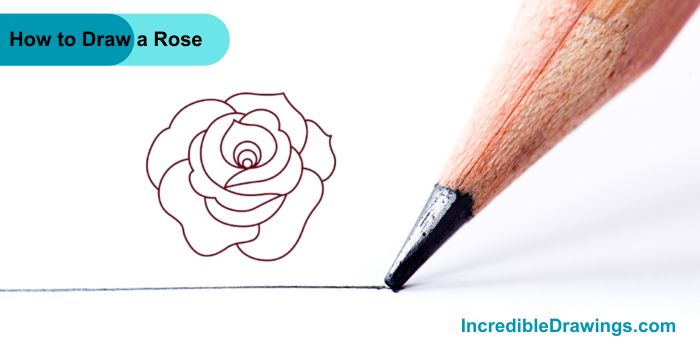
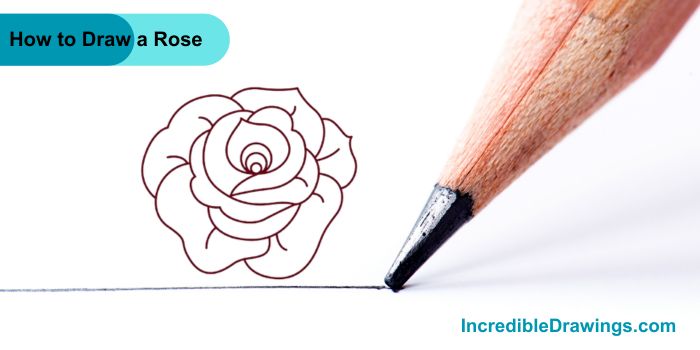
Step 5: Define the Petals
- Now, add more detail to the petals by drawing the edges more clearly. Make sure each petal has a distinct shape.
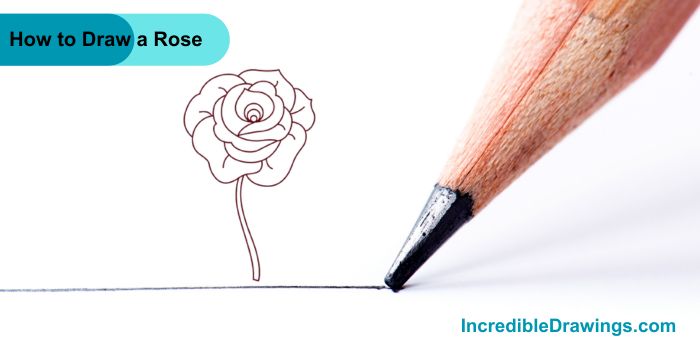
Step 6: Draw the Stem
- After completing the petals, draw a long, slightly curved line extending down from the bottom of the rose. This will be the stem.
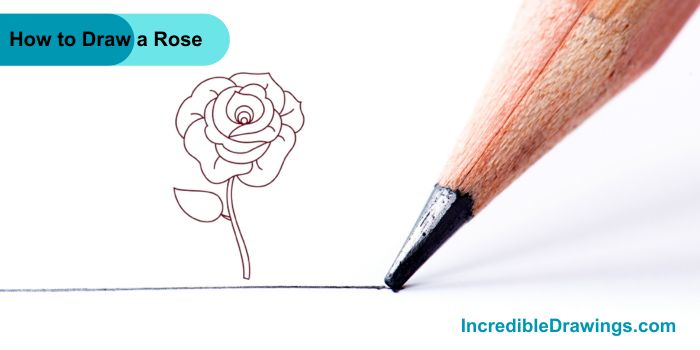
Step 7: Add leaf to the Stem
- Draw a small leaf on one side of the stem. Leaves are usually oval-shaped with pointed ends.
Step 8: Create the Leaf Veins

Step 9: Color Your Rose
- Finally, color in your rose. You can use red for the petals and green for the stem and leaf. Feel free to use any colors you like.

And there you have it, Your very own beautifully drawn rose. Keep practicing, and you’ll get even better at drawing roses and other flowers. I hope you like this drawing rose with us.
The admin of IncredibleDrawings.com is an expert in creating step-by-step drawing tutorials for kids and artists. With over 4+ years of Experience, degree from Master of Fine Arts (MFA), I have cultivated a substantial following on YouTube, Pinterest, and Facebook, making art accessible to learners of all ages. Explore engaging drawing guides and tutorials on their YouTube channel with over 29k subscribers, follow inspiring content on Pinterest, with 100K Monthly views and connect with a vibrant artist community on Facebook with 2k+ likes.