Drawing a snowflake can be a fun and creative activity. Follow this step by step guide on how to draw a snowflake to create your very own snowflake. Let’s get started.
Table of Contents
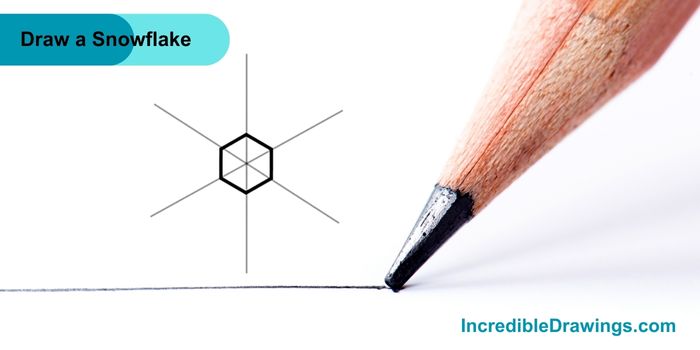
Step 1: Draw the Base Lines
- Start by drawing a vertical line and then an “X” over it. This will be the base structure of your snowflake.

Step 2: Add a Hexagon in the Center
- Next, draw a small hexagon in the center where all the lines intersect. This will give your snowflake a solid center.
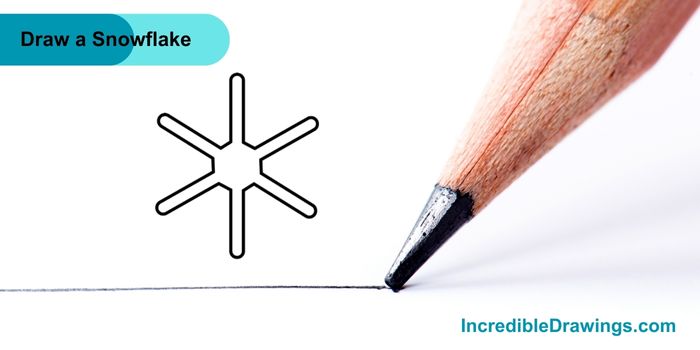
Step 3: Thicken the Lines
- Thicken all the lines by drawing parallel lines along each one and connecting them at the ends. This will start to give shape to your snowflake.
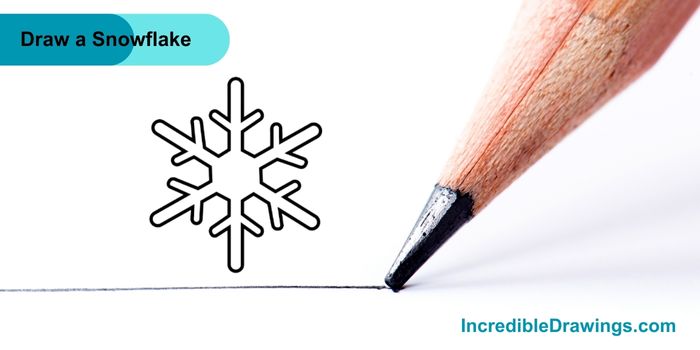
Step 4: Add Small Branches
- Draw small branches off the main lines. Make these branches about halfway up each main line to give your snowflake more detail.
Step 5: Add More Details
- Now add more small branches to each of the main branches you just drew. This makes your snowflake look more intricate and beautiful.
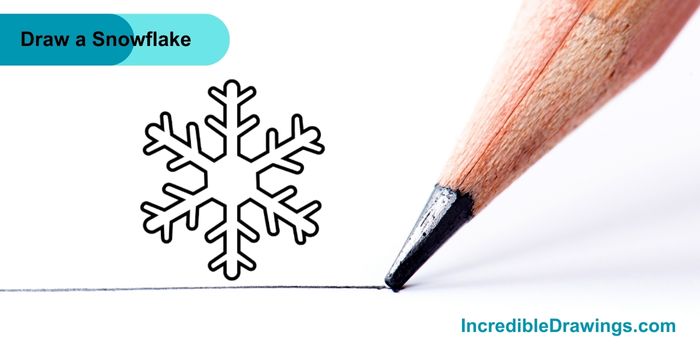
Step 6: Finalize Your Snowflake
- Go over your lines to make them darker and clearer. Erase any unnecessary lines, and you can color your snowflake blue or any color you like.
Tips for Drawing:
- Take your time and draw lightly at first so you can easily erase any mistakes.
- You can make your snowflake unique by adding different patterns or shapes to the branches.
- Have fun and be creative.
Congratulations, You’ve just drawn a beautiful snowflake. Keep practicing and try drawing different snowflakes with various patterns. I hope you like drawing snowflake with us.
The admin of IncredibleDrawings.com is an expert in creating step-by-step drawing tutorials for kids and artists. With over 4+ years of Experience, degree from Master of Fine Arts (MFA), I have cultivated a substantial following on YouTube, Pinterest, and Facebook, making art accessible to learners of all ages. Explore engaging drawing guides and tutorials on their YouTube channel with over 29k subscribers, follow inspiring content on Pinterest, with 100K Monthly views and connect with a vibrant artist community on Facebook with 2k+ likes.