Drawing a tree can be a fun and creative activity, With just a few simple steps and some basic drawing tools, you can create your very own tree drawing. Follow along with these step-by-step instructions to learn how to draw a tree that looks vibrant and full of life.
What You’ll Need:
- A sheet of drawing paper
- A pencil
- An eraser
- Coloring tools like crayons or watercolor paints
Easy Step-by-Step Instructions on How to Draw a Tree:
Table of Contents
Step 1:
- Draw two curved lines for the tree trunk.

Step 2:
- Add two elongated loops from the trunk for branches. Then draw zig-zag lines at the bottom of the trunk for roots.

Step 3:
- Draw more elongated loops below the first branches for more branches.

Step 4:
- Repeat with more loops below the second set of branches for even more branches.
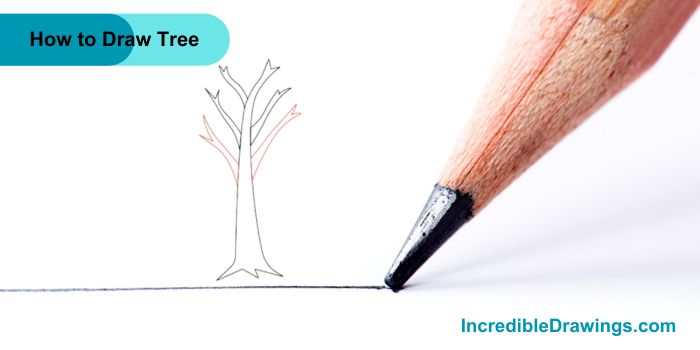
Step 5:
- On each branch, draw small leaf-like shapes for twigs.

Step 6:
- Draw a wavy circle around the trunk for the crown of the tree and Inside the crown, draw small curved lines for leaves. Add a line at the bottom of the trunk for the ground, and draw curved lines for clouds in the sky.

Step 7:
- Color your tree using crayons or paints to bring it to life.

Remember, the more you practice, the better you’ll get. Feel free to experiment with different shapes and colors to make each tree unique. I hope you like drawing Tree with us.
The admin of IncredibleDrawings.com is an expert in creating step-by-step drawing tutorials for kids and artists. With over 4+ years of Experience, degree from Master of Fine Arts (MFA), I have cultivated a substantial following on YouTube, Pinterest, and Facebook, making art accessible to learners of all ages. Explore engaging drawing guides and tutorials on their YouTube channel with over 29k subscribers, follow inspiring content on Pinterest, with 100K Monthly views and connect with a vibrant artist community on Facebook with 2k+ likes.


