Drawing a turkey can be a fun and rewarding experience, Follow this step by step guide on how to draw a turkey, and you’ll be able to draw a cute turkey in no time.
Table of Contents
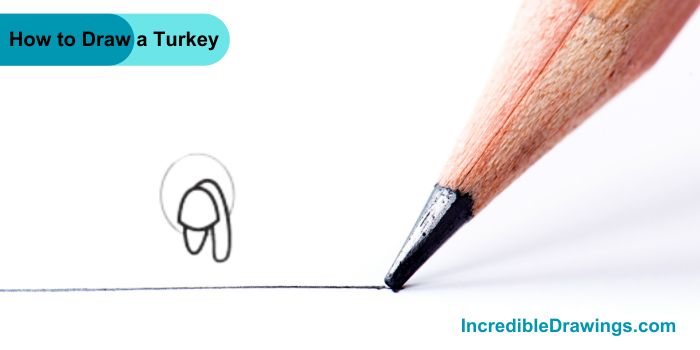
Step 1: Draw the Head
- Start by drawing a small circle near the top of your paper. This will be the turkey’s head.

Step 2: Add the Beak and Wattle
- Inside the circle, draw a small triangle for the beak. Add a curved shape below the beak for the wattle (the fleshy part that hangs down).
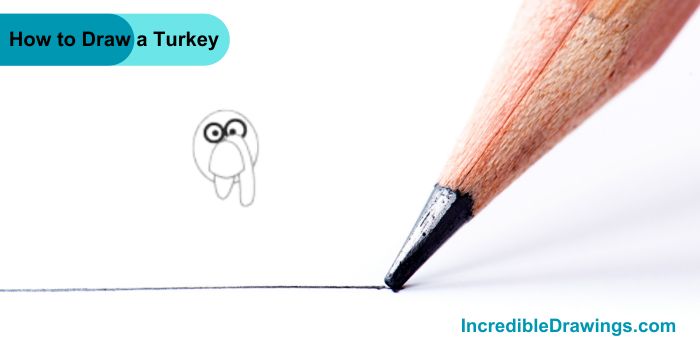
Step 3: Draw the Eyes
- Above the beak, draw two large circles for the eyes. Inside each eye, draw a smaller circle and fill it in to create the pupils.
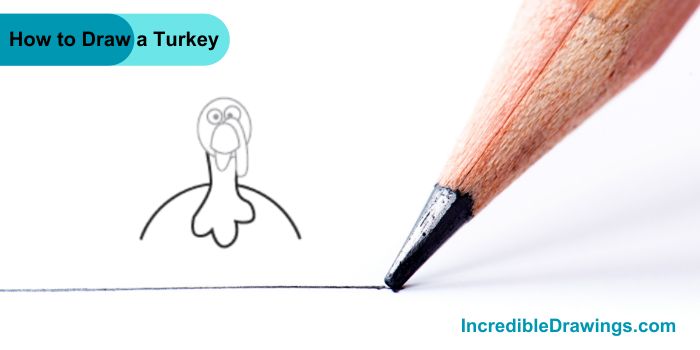
Step 4: Draw the Neck
- From the bottom of the head, draw two curved lines going down to form the neck. Connect the lines at the bottom with a small curve.
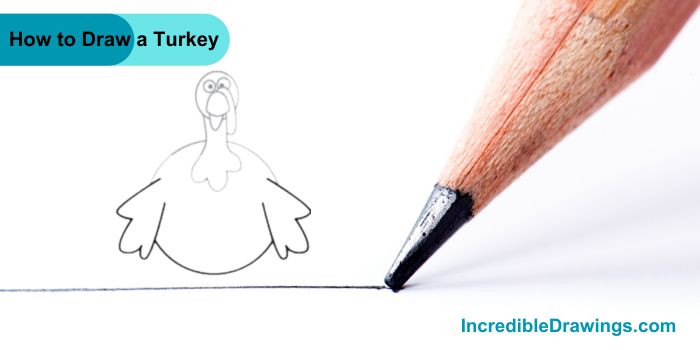
Step 5: Draw the Body and Wings
- Below the neck, draw a large oval or circle for the body. This shape should be much bigger than the head and On each side of the body, draw a wing shape. These can be curved lines that stick out from the sides of the body.
Step 6: Draw the Tail Feathers
- Behind the turkey body, draw several large, curved lines to create the tail feathers. These should fan out and be evenly spaced.
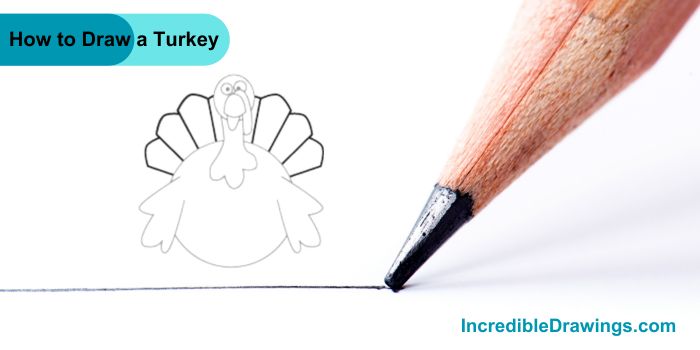
Step 7: Add the Legs and Feet
- At the bottom of the body, draw two straight lines for the legs. Add three smaller lines at the end of each leg to make the feet.
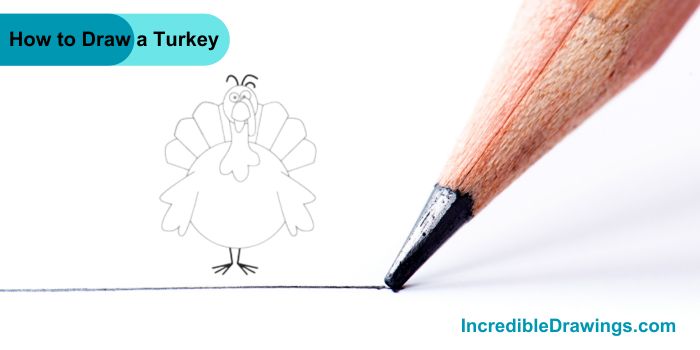
Step 8: Color Your Turkey
- Finally, color your turkey, You can use brown for the body, red for the wattle, and yellow or orange for the beak and feet. Feel free to add any other colors you like to make your turkey unique.

Congratulations You’ve drawn a turkey. I hope you like drawing turkey with us.
The admin of IncredibleDrawings.com is an expert in creating step-by-step drawing tutorials for kids and artists. With over 4+ years of Experience, degree from Master of Fine Arts (MFA), I have cultivated a substantial following on YouTube, Pinterest, and Facebook, making art accessible to learners of all ages. Explore engaging drawing guides and tutorials on their YouTube channel with over 29k subscribers, follow inspiring content on Pinterest, with 100K Monthly views and connect with a vibrant artist community on Facebook with 2k+ likes.


