Drawing Durga Mata face can be a fun and creative activity. Follow this step by step guide on How to Draw Durga Mata Face to create a beautiful drawing of Durga Mata face. Each step includes an easy-to-follow image and clear instructions.
Table of Contents
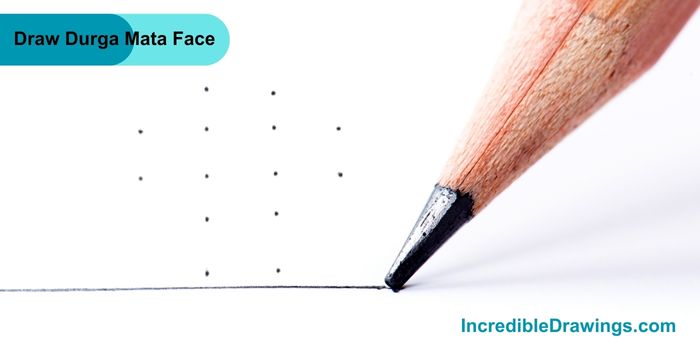
Step 1: Draw the Grid
- Start by drawing a grid of 3×3 dots. This will help you place the facial features correctly.
- Make sure the dots are evenly spaced.
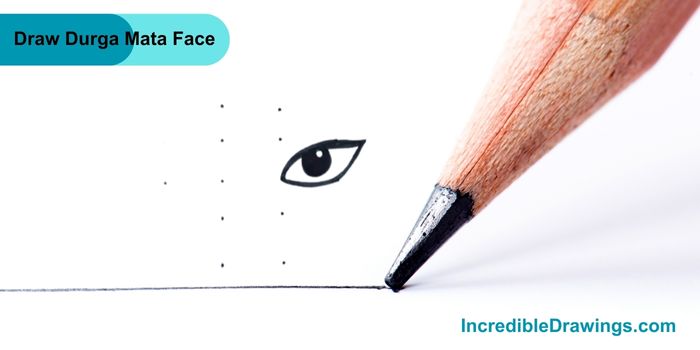
Step 2: Draw the Right Eye
- Begin by drawing the right eye using the middle dots of the right column.
- Draw an almond shape around the dot, then add a circle for the pupil inside it.
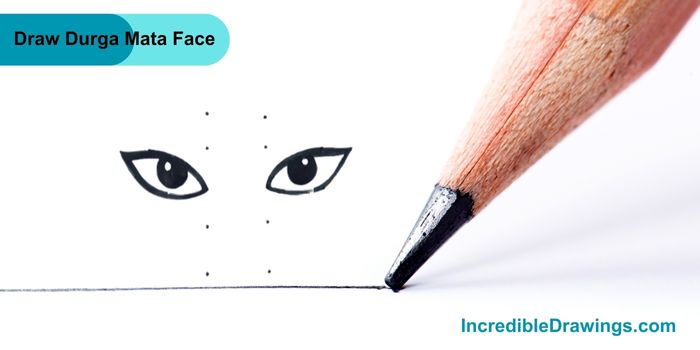
Step 3: Draw the Left Eye
- Now, draw the left eye in a similar manner using the middle dots of the left column.
- Ensure both eyes are symmetrical and of the same size.
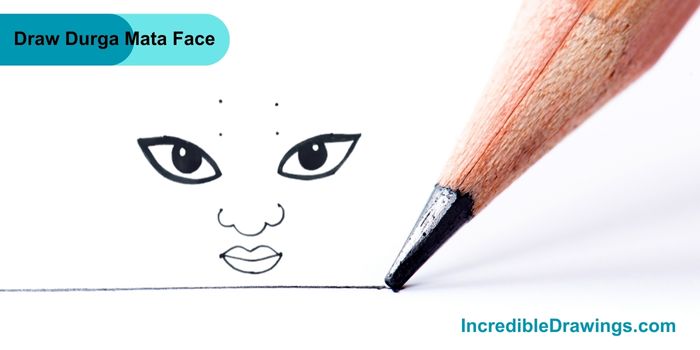
Step 4: Draw the Nose and Lips
- Draw the nose just below the middle dots, making sure it’s centered.
- Add the lips beneath the nose, using the lower dots as a guide.
Step 5: Add the Nose Ring
- Draw a small circle on the right side of the nose for the nose ring.

Step 6: Draw the Eyebrows
- Draw the eyebrows above each eye, starting from the middle dots above the eyes.
- Make sure the eyebrows are thick and arched.
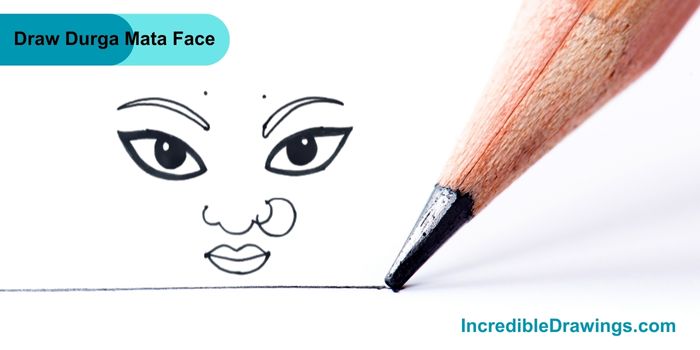
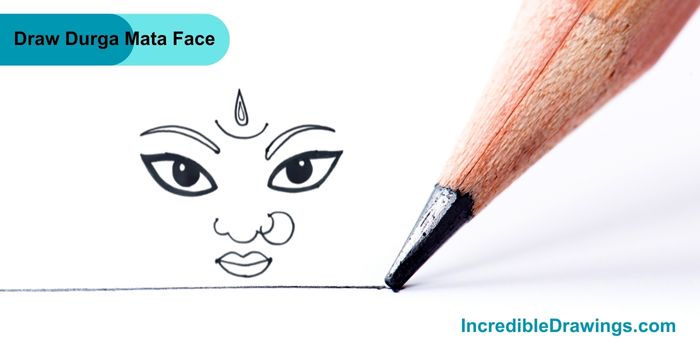
Step 7: Draw the Forehead Marking
- Draw a small, decorative marking in the middle of the forehead, just above the eyebrows.
- This marking can be a teardrop shape.
Step 8: Color the Drawing
- Finally, add some colors to your drawing. You can color the lips red and add an orange dot on the forehead.
- Use your creativity to make the drawing vibrant and beautiful.

Great job, You have successfully drawn Durga Mata face. Keep practicing to improve your drawing skills. I hope you like drawing Durga Mata Face with us.
The admin of IncredibleDrawings.com is an expert in creating step-by-step drawing tutorials for kids and artists. With over 4+ years of Experience, degree from Master of Fine Arts (MFA), I have cultivated a substantial following on YouTube, Pinterest, and Facebook, making art accessible to learners of all ages. Explore engaging drawing guides and tutorials on their YouTube channel with over 29k subscribers, follow inspiring content on Pinterest, with 100K Monthly views and connect with a vibrant artist community on Facebook with 2k+ likes.