Today, we’re going to learn how to draw Eevee step by step in this article. Grab your paper and pencils, and let’s get started.
Table of Contents
Step 1:
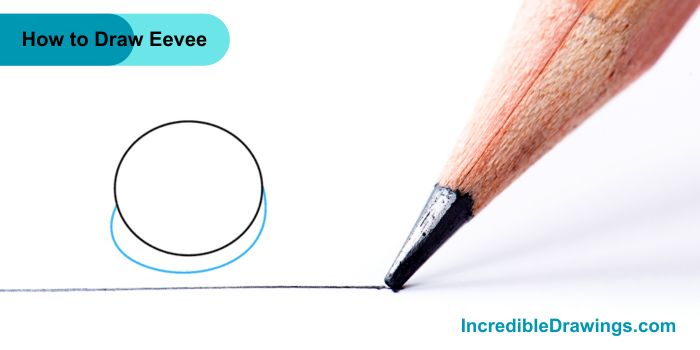
- Start by drawing a circle. This will be Eevee’s head.

Step 2:
- Draw a curved line under the circle, going from one side to the other. This shapes the head.
Step 3:
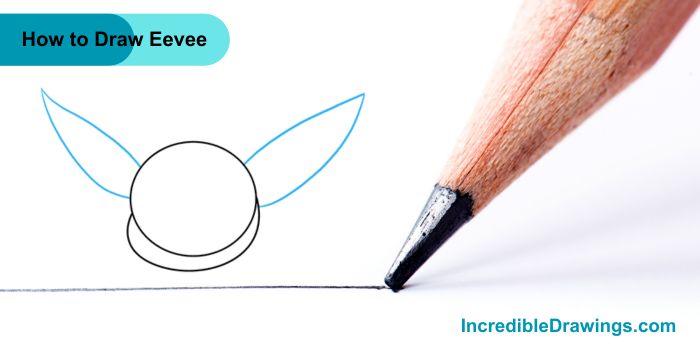
- Draw Eevee ears. For each ear, draw two long, curved lines from the head, meeting in a point at the top.
Step 4:
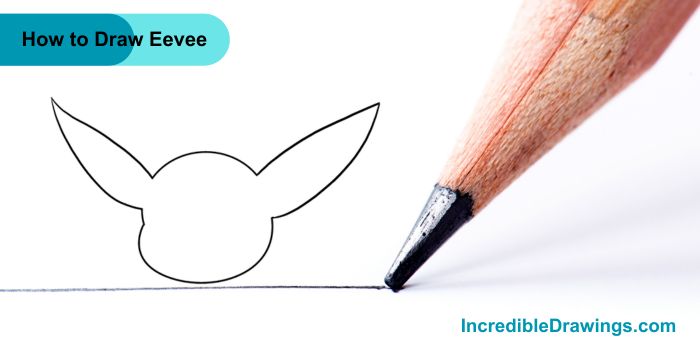
- Erase any extra lines from the head and ears.
Step 5:
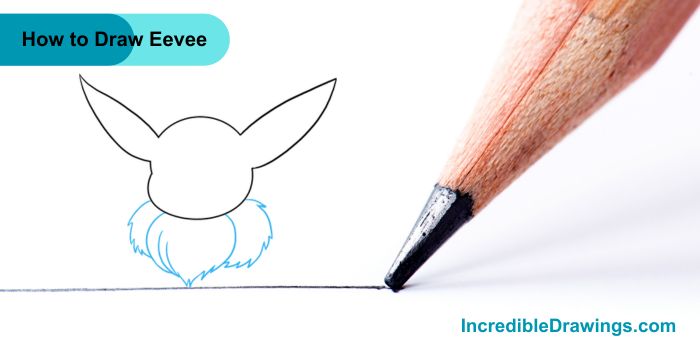
- Draw the fluffy fur around Eevee neck. Use two curved lines for the middle part, then add short, curved lines that meet in points to finish the shape.
Step 6:
- Draw a wavy, zigzag line on top of Eevee’s head for the fur. Erase any extra lines.
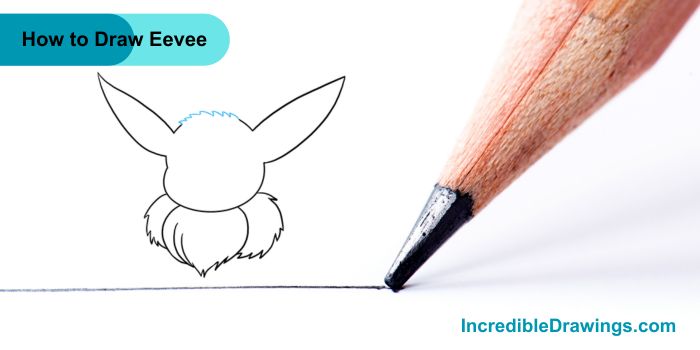
Step 7:
- Draw Eevee’s body and legs. Draw four curved lines going down from the body. Connect them at the bottom with curved lines. Add short, curved lines on the front feet for the toes.
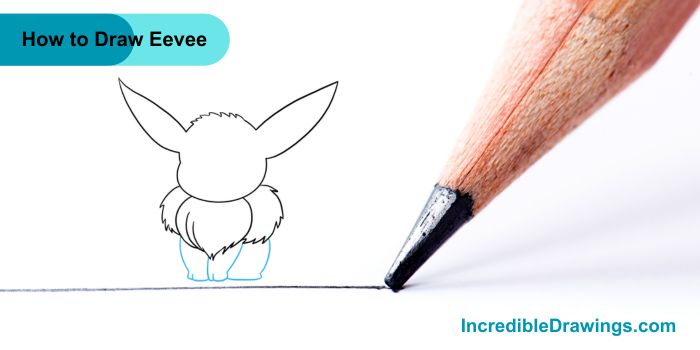
Step 8:
- Draw Eevee tail. Use two curved lines from the body, meeting in a point. Add a zigzag line near the tip to show the lighter fur.
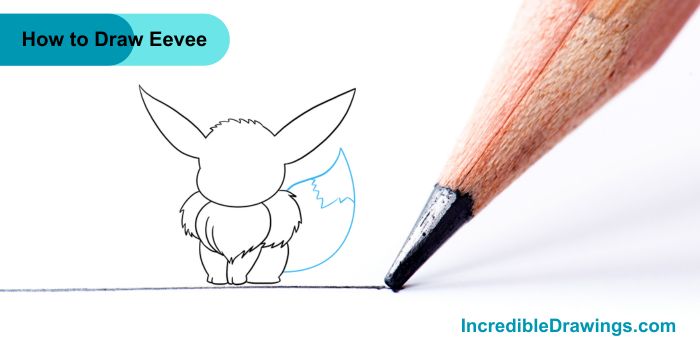
Step 9:
- Add details to the face and ears. Draw lines inside each ear, then add a “V” shape. Draw an oval for each eye with a smaller oval inside. Add a short line above each eye. Draw an upside-down triangle for the nose and three curved lines for the mouth.
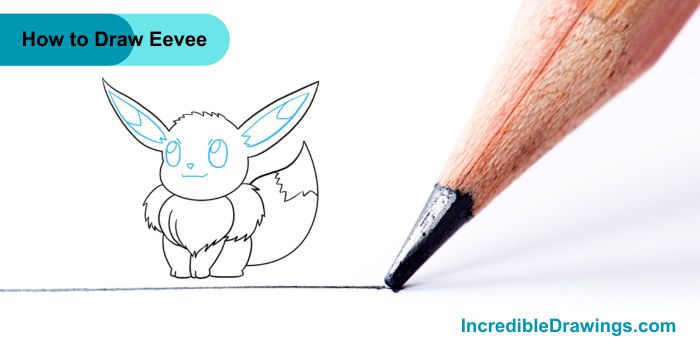
Step 10:
- Color Eevee. She is usually brown with tan patches.

Great job, You’ve just drawn Eevee. Now you have your very own Eevee drawing. Keep practicing and have fun with your art. I hope you like drawing Eevee with us.
The admin of IncredibleDrawings.com is an expert in creating step-by-step drawing tutorials for kids and artists. With over 4+ years of Experience, degree from Master of Fine Arts (MFA), I have cultivated a substantial following on YouTube, Pinterest, and Facebook, making art accessible to learners of all ages. Explore engaging drawing guides and tutorials on their YouTube channel with over 29k subscribers, follow inspiring content on Pinterest, with 100K Monthly views and connect with a vibrant artist community on Facebook with 2k+ likes.


