Drawing India Gate can be fun and easy if you follow this step by step guide on how to draw INDIA Gate. Each step builds upon the previous one, so make sure to follow along carefully. Let’s get started!
Table of Contents
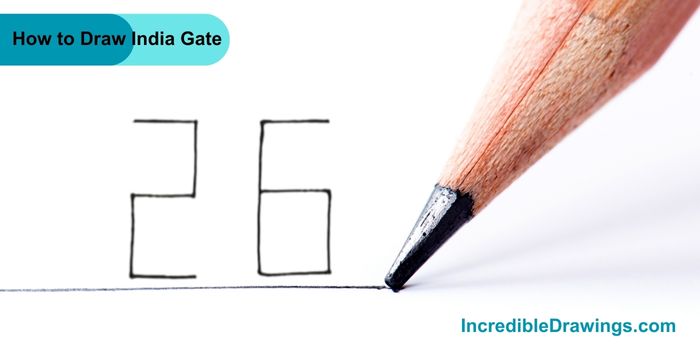
Step 1: Draw 2 and 6
- Start by drawing 2 and 6 next to each other. These will be the base of the India Gate. Make sure there is a small gap between them.

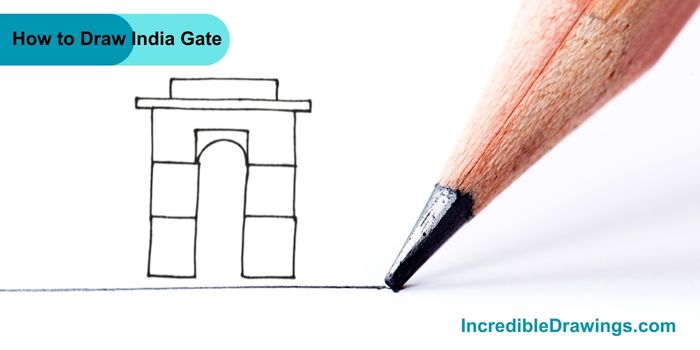
Step 2: Draw Arches on Top of the Rectangles
- Next, draw an arch on top of the two rectangles. The arch should connect both rectangles and form the shape of a door in the middle.

Step 3: Draw the Top of the Gate
- Now, draw a horizontal line across the top of the arch. Extend this line slightly beyond the width of the rectangles to create the top part of the India Gate.

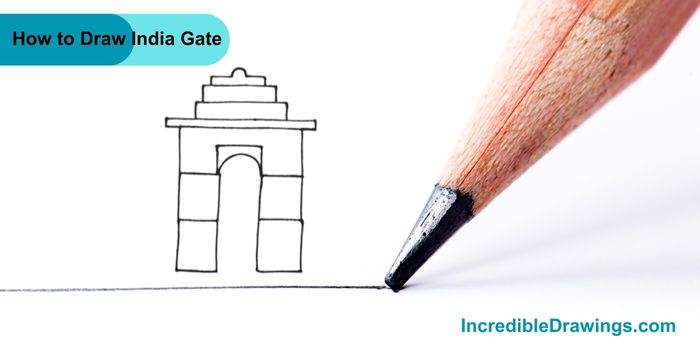
Step 4: Add a Rectangle on Top
- On top of the horizontal line, draw a small rectangle. This rectangle will form the uppermost part of the India Gate.

Step 5: Draw the Upper Details
- Draw a series of smaller rectangles and an arch on top of the previous rectangle. This will add more detail to the top of the India Gate.

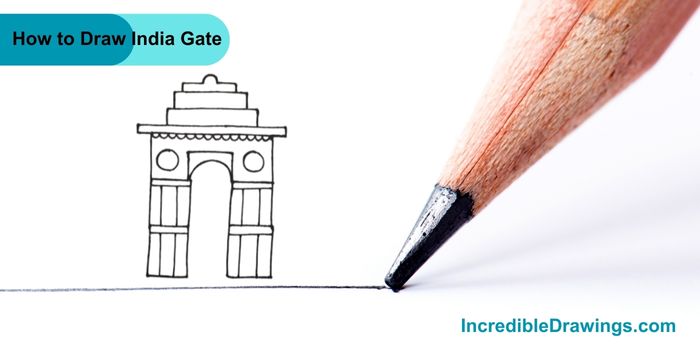
Step 6: Add Decorative Elements
- Now, add decorative elements like circles and vertical lines on both sides of the arch. These decorations will make your India Gate look more realistic.

Step 7: Write “INDIA” on Top
- Finally, write the word “INDIA” at the top of the gate. You can also add some shading and more details to make your drawing look complete.

Congratulations, You have successfully drawn the India Gate. You can now color your drawing to make it even more beautiful. Keep practicing and have fun drawing. I hope you like drawing INDIA Gate with us.
The admin of IncredibleDrawings.com is an expert in creating step-by-step drawing tutorials for kids and artists. With over 4+ years of Experience, degree from Master of Fine Arts (MFA), I have cultivated a substantial following on YouTube, Pinterest, and Facebook, making art accessible to learners of all ages. Explore engaging drawing guides and tutorials on their YouTube channel with over 29k subscribers, follow inspiring content on Pinterest, with 100K Monthly views and connect with a vibrant artist community on Facebook with 2k+ likes.


