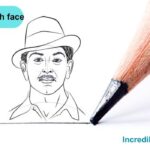
Drawing King Ashoka can be fun and easy if you follow this step by step guide on how to draw king Ashoka the Great face. Just follow the images and instructions, and you’ll have your own drawing of King Ashoka in no time!
Table of Contents
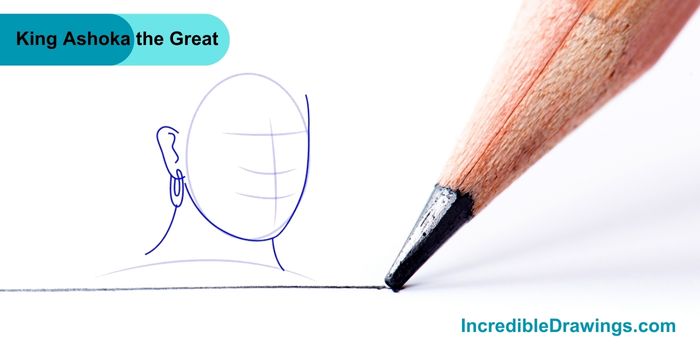
Step 1: Draw the Base Outline
- Start by drawing an oval shape for the head. Inside the oval, draw a cross with two lines – one vertical and one horizontal. This will help us place the facial features later. Add a curved line at the bottom for the shoulders.

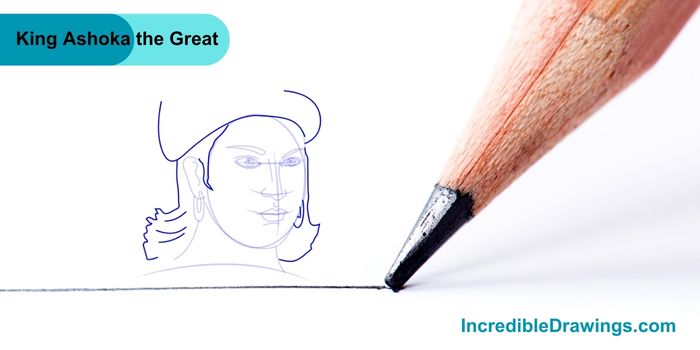
Step 2: Add the Ear and Neck
- Next, draw the outline of the ear on the left side of the head. Add a small hoop earring. Draw two curved lines extending down from the head to form the neck and shoulders.
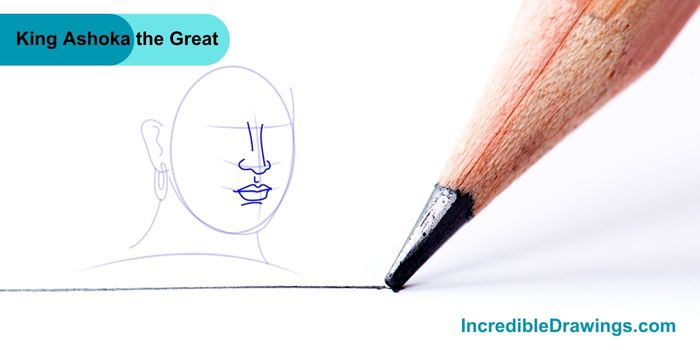
Step 3: Draw the Nose and Mouth
- Using the guidelines, draw the nose in the middle of the face. Below the nose, draw the mouth with a slight curve. Remember to add details to the nose to give it shape.
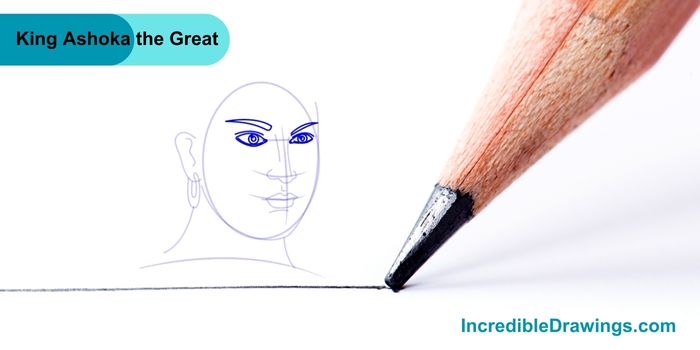
Step 4: Draw the Eyes and Eyebrows
- Now, draw the eyes along the horizontal guideline. Add the eyebrows above the eyes, giving them a curved shape. Make sure to add pupils inside the eyes to make them look lively.
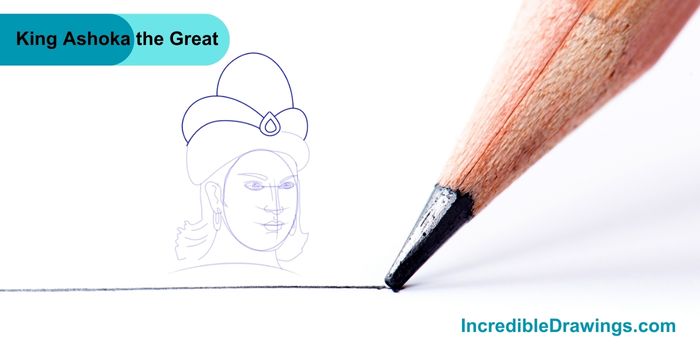
Step 5: Add the Hair and Hat Outline
- Draw the outline of King Ashoka hair and hat. The hat is a distinct feature, so make sure to draw it accurately, covering the top of the head and part of the hair.
Step 6: Draw the Hat Details
- Add details to the hat to make it look royal. Draw a jewel in the center and the layered design of the hat, ensuring it looks grand.
Step 7: Add Jewelry and Facial Markings
- Draw the decorative jewelry on the hat and forehead. Add small circles and lines to indicate beads and other embellishments. Add a line on the forehead to give it a traditional look.

Step 8: Finalize the Drawing
- Trace over your final lines with a darker pencil or marker to make them stand out. Erase any unnecessary guidelines. Add more details to the face, jewelry, and clothing to make your drawing more complete.

And there you have it, You’ve drawn King Ashoka. You can now color your drawing to make it even more beautiful. Keep practicing, and you’ll get better with each drawing. I hope you like drawing King Ashoka the Great face with us.
The admin of IncredibleDrawings.com is an expert in creating step-by-step drawing tutorials for kids and artists. With over 4+ years of Experience, degree from Master of Fine Arts (MFA), I have cultivated a substantial following on YouTube, Pinterest, and Facebook, making art accessible to learners of all ages. Explore engaging drawing guides and tutorials on their YouTube channel with over 29k subscribers, follow inspiring content on Pinterest, with 100K Monthly views and connect with a vibrant artist community on Facebook with 2k+ likes.