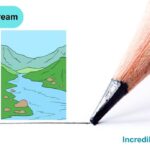
Drawing a landscape can be a lot of fun, Follow this step by step guide to draw your own beautiful landscape picture.
Table of Contents
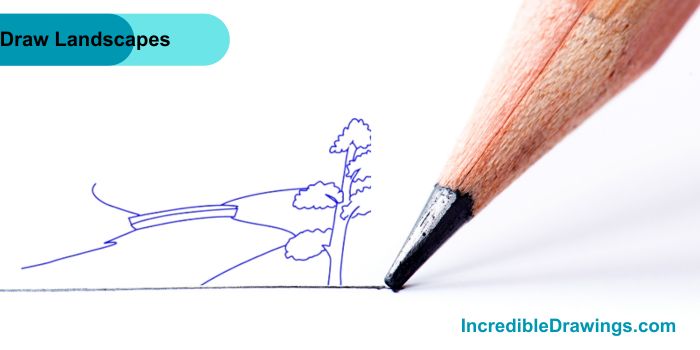
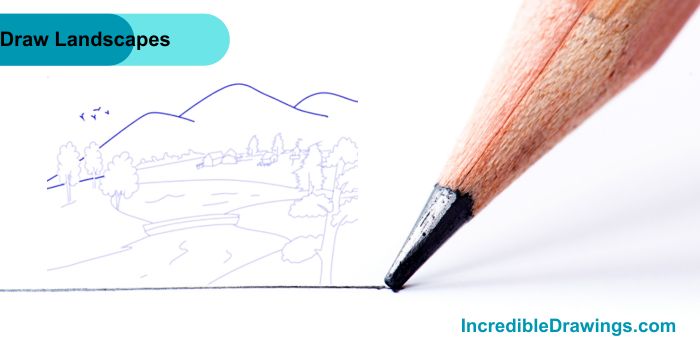
Step 1: Draw the Bridge and the Hill
First, let’s draw the bridge and the hill.
- Draw a small curved line for the bridge.
- Add two lines that extend from the ends of the bridge to create the hill on the left side.
- Draw another curved line to create the hill on the right side of the bridge.
- Finally, draw the outline of a tree on the right side.
Look at the image to see how it should look.
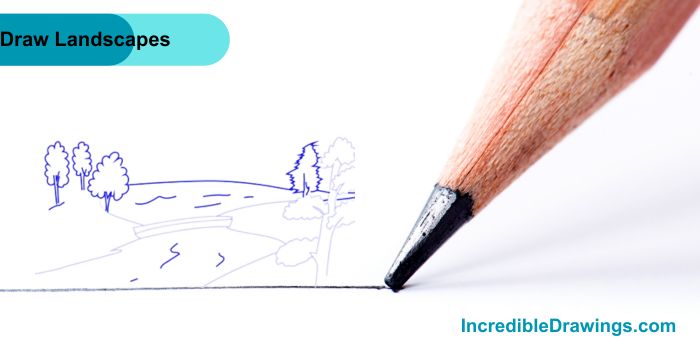
Step 2: Add More Trees
Now, let’s add more trees to our landscape.
- Draw a few trees on the left side of the bridge.
- Add some wavy lines in the water under the bridge to show the river’s flow.
- Draw another tree on the right side, near the edge of the hill.
Check the image to see where to place the trees and lines.
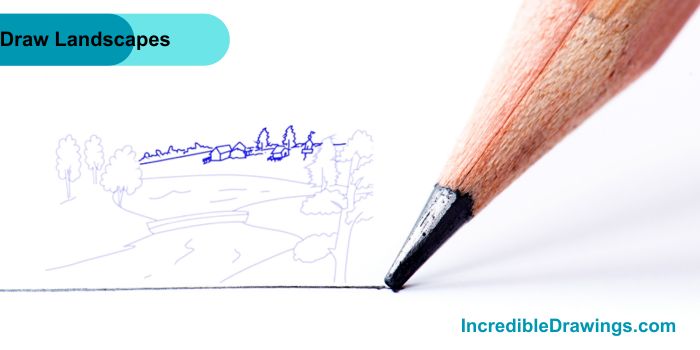
Step 3: Draw Houses in the Background
It’s time to draw some houses in the background.
- Draw small house shapes in the distance, just above the hill.
- Add more trees around the houses to make it look like a village.
Take a look at the image for guidance.
Step 4: Add Mountains and Birds
Let’s make our landscape even more beautiful by adding mountains and birds.
- Draw curved lines behind the houses to create mountains.
- Add a few birds in the sky by drawing small “V” shapes.
Look at the image to see how to draw the mountains and birds.
Congratulations, you have finished drawing Landscapes.

By following this step-by-step guide on drawing landscapes, you have mastered the techniques to illustrate a bridge, hills, trees, houses, mountains, and birds. Remember, practice makes perfect, so keep drawing and experimenting with different elements to create your own unique landscapes. I hope you like drawing landscapes with us.
The admin of IncredibleDrawings.com is an expert in creating step-by-step drawing tutorials for kids and artists. With over 4+ years of Experience, degree from Master of Fine Arts (MFA), I have cultivated a substantial following on YouTube, Pinterest, and Facebook, making art accessible to learners of all ages. Explore engaging drawing guides and tutorials on their YouTube channel with over 29k subscribers, follow inspiring content on Pinterest, with 100K Monthly views and connect with a vibrant artist community on Facebook with 2k+ likes.