Drawing Spider-Man can be a lot of fun, Follow this step by step guide on how to draw a spiderman to create your own Spider-Man drawing. Remember to take your time and enjoy the process.
Table of Contents
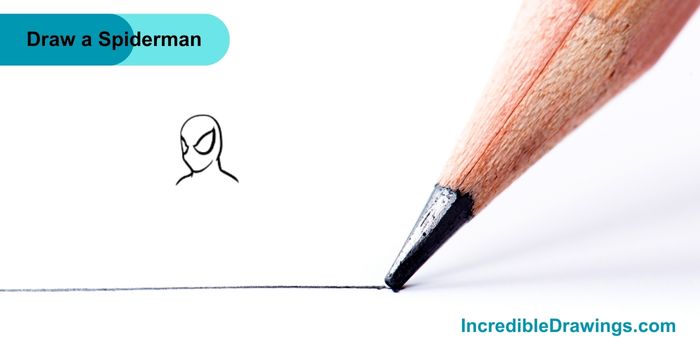
Step 1: Draw the Head
- Start by drawing Spider-Man head. Draw an oval shape and add two big, almond-shaped eyes inside the oval. These eyes should be large and expressive, giving Spider-Man his distinctive look.
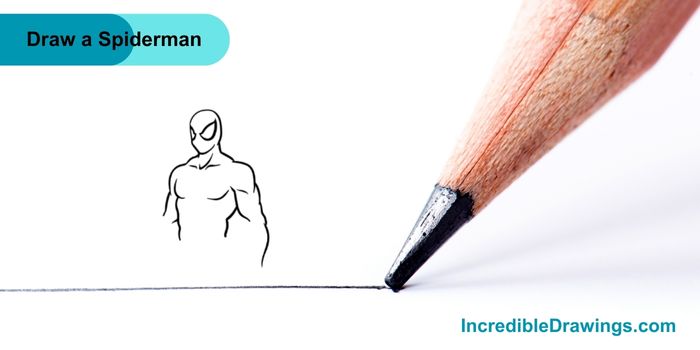
Step 2: Draw the Upper Body
- Next, draw the upper part of Spider-Man body. Start by sketching a muscular chest and shoulders. Add lines for his arms that extend down from his shoulders. Don’t forget to add his neck connecting to the head.
Step 3: Add the Details of the Upper Body
- Now, add more details to Spider-Man upper body. Draw his muscles to make him look strong. Add more lines to define his chest, abs, and arms. This will make your drawing look more realistic.
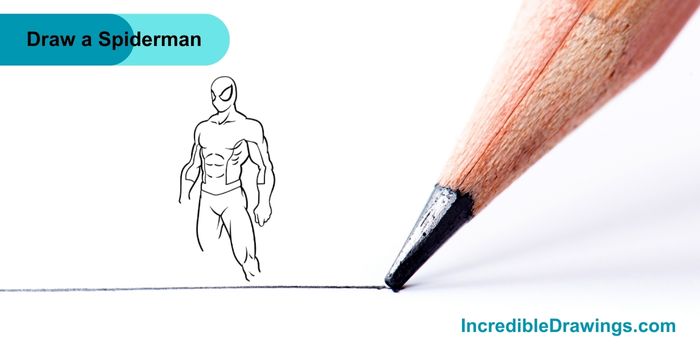
Step 4: Draw the Lower Body
- Continue by drawing the lower part of Spider-Man’s body. Sketch his hips and legs. Make sure to draw strong, muscular legs to match the upper body. Add simple lines for his legs for now.
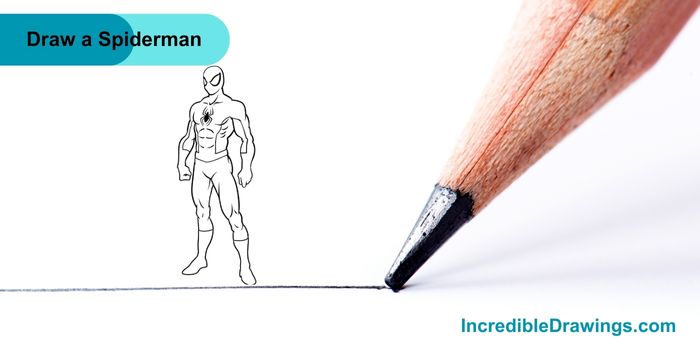
Step 5: Add Spider-Man’s Suit Details
- Now it’s time to add details to Spider-Man suit. Draw the web pattern on his costume. Start with the lines on his chest, and then add the webbing on his mask, arms, and legs. Be patient and take your time with this step.

Step 6: Color Your Drawing
- Finally, it’s time to color Spider-Man, Use red for his mask, upper body, and boots. Use blue for the lower part of his body and his gloves. Don’t forget to color the web pattern in black. This will make Spider-Man look just like he does in the comics and movies.
And there you have it, Your very own drawing of Spider-Man. Great job, Keep practicing, and you’ll get even better at drawing your favorite superheroes. I hope you like drawing spiderman with us.
The admin of IncredibleDrawings.com is an expert in creating step-by-step drawing tutorials for kids and artists. With over 4+ years of Experience, degree from Master of Fine Arts (MFA), I have cultivated a substantial following on YouTube, Pinterest, and Facebook, making art accessible to learners of all ages. Explore engaging drawing guides and tutorials on their YouTube channel with over 29k subscribers, follow inspiring content on Pinterest, with 100K Monthly views and connect with a vibrant artist community on Facebook with 2k+ likes.