How to Draw Mahatma Gandhi Full Body Step By Step

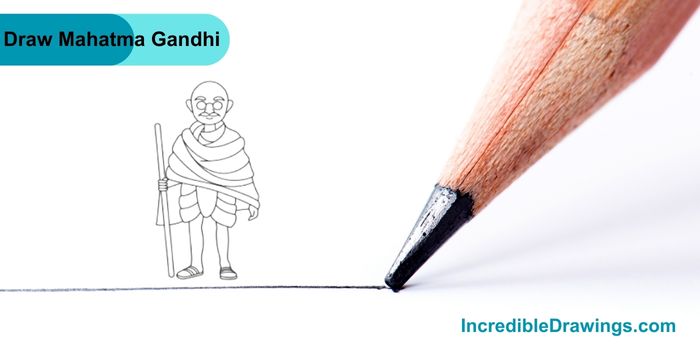
Drawing Mahatma Gandhi can be fun and easy if you follow this step by step guide on how to draw Mahatma gandhi Full Body. Let’s learn how to draw him step by step. Grab your pencil and paper, and let’s get started.

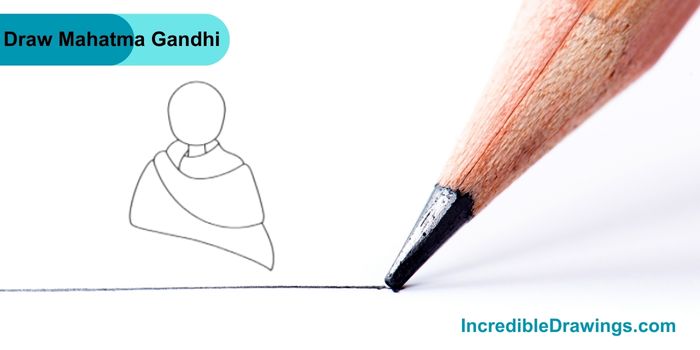
Step 1: Drawing the Head and Shawl

  1. Start by drawing a circle for Mahatma Gandhi head. This will be the base of his face.
  2. Draw the outline of his shawl. This includes two curved lines across his shoulders, forming the upper part of his clothing.

How to Draw Mahatma Gandhi face step by step

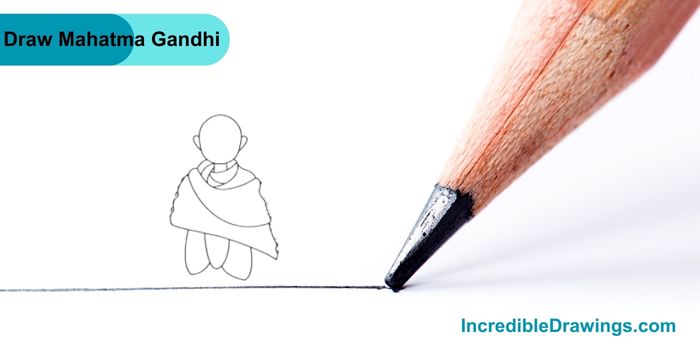
Step 2: Adding Details to the Shawl and Ears

  1. Add the details of the shawl by drawing lines to show the folds.
  2. Draw small curved lines on the sides of the head for the ears.

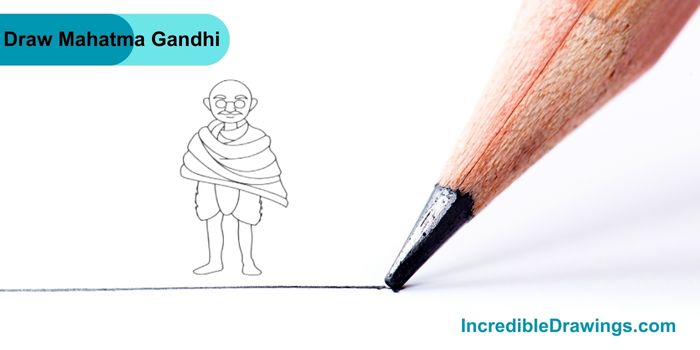
Step 3: Drawing the Face and Legs

  1. Now, draw the facial features. Start with the glasses by drawing two circles and a line connecting them.
  2. Draw the eyes, nose, and mouth inside the glasses.
  3. Draw the outline of his legs below the shawl.

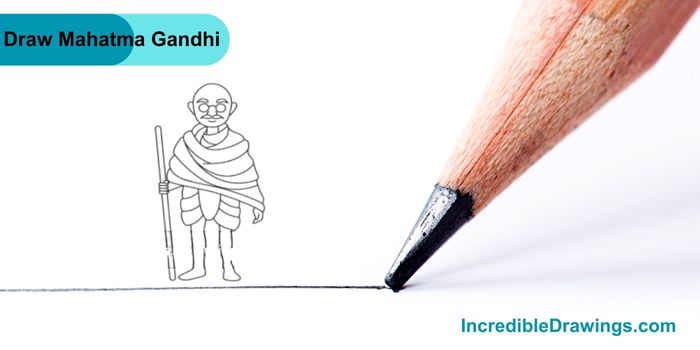
Step 4: Draw Hands and stick

  1. Add more details to the shawl to make it look more realistic with additional folds.
  2. Draw the hands, with one hand holding a walking stick.

How to Draw Mahatma Gandhi face step by step

Step 5: Finalizing the Drawing

  1. Draw the sandals on his feet.
  2. Add final touches to the shawl and walking stick to complete the look.

How to Draw Mahatma Gandhi face step by step

Step 6: Adding the Background

  1. For the final touch, draw a simple background to place Mahatma Gandhi in a scene. You can draw a path and some clouds to give it a nice finish.

How to Draw Mahatma Gandhi face step by step

Tips for Drawing

  • Take your time and draw each step carefully.
  • If you make a mistake, you can always erase and try again.
  • Practice makes perfect, so keep practicing to improve your drawing skills.
See also  How to Draw Buildings Step by Step

Now you have a complete drawing of Mahatma Gandhi, Well done. I hope you like drawing Mahatma Gandhi Full Body with us.

Leave a Comment